Grade Level
All
minutes
15 min - 1 hr
subject
Earth Science
stem practices
Planning and Carrying Out Investigations
Activity Type:
ultraviolet light, STEAM, Family activity, space, After School Activity
This activity is part of the Science Friday Sun Camp collection!
The Sun is undoubtedly the powerhouse of the solar system. It’s been generating energy for 4.5 billion years, and it will continue to burn for another 5 billion. All the energy radiates out from the center of our solar system in the form of light, heat, gamma and x-rays, and magnetic fields. Every day the light of the Sun shines on the Earth, driving many chemical and physical changes across the planet.
Some of the energy that comes from the sun is easy for you to see and feel. Other energy isn’t as obvious. Sometimes the energy from the Sun is invisible to humans. That means you’ll need some detection tools to observe these forms of energy and experiment with them. Let’s get started!
Can’t wait to get started? Jump to the experiment!
Energy From The Sun
The Sun is a massive body of incredibly hot, electrically-charged gasses (mostly hydrogen). It’s held together by an intense internal gravitational pull which creates a powerful pressure inside the Sun. That pressure causes hydrogen atoms to collide with incredible force, forming a new element—helium. This process is called nuclear fusion, and it releases a lot of energy. Every 1.5 millionths of a second, the Sun releases more energy than all of humanity could consume in an entire year.
The energy formed from nuclear fusion within the core of the Sun travels outward to the convective zone and then the photosphere, where solar radiation is emitted as charged particles, heat, and light from the sun’s surface and atmosphere. The charged particles create the solar wind that moves far out into space, millions of miles away. The sun’s heat and light provide enough energy to sustain the chemical reactions and physical conditions that support life on Earth.
Download a poster based on this video.
The Sun’s Electromagnetic Radiation
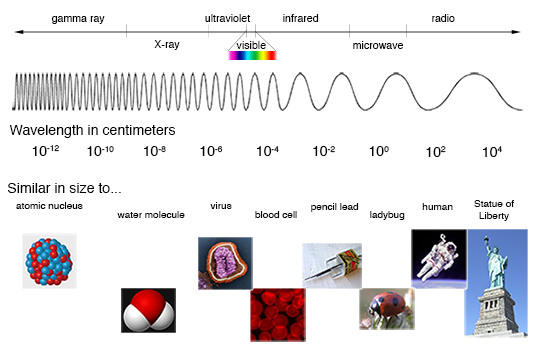
The heat, light, and radiation that come from the sun are all examples of electromagnetic radiation. Unlike forms of energy that need to move through matter (like sound), electromagnetic radiation can travel through the vacuum of space, without other atoms, molecules, or other particles to carry it. These waves of energy are part of the electromagnetic spectrum that encompasses everything from long radio waves to very short gamma rays. Visible light, infrared radiation (heat), and ultraviolet (UV) light are all parts of the electromagnetic spectrum.
Radiation on the electromagnetic spectrum has different wavelengths. Wavelengths are measured by the distance between two crests of the wave. The number of crests that pass a given point within one second is the frequency of the wavelength. The shorter the wavelength, the higher the frequency, and the higher the energy. UV light has a shorter wavelength than visible light, which has a shorter wavelength than infrared radiation.
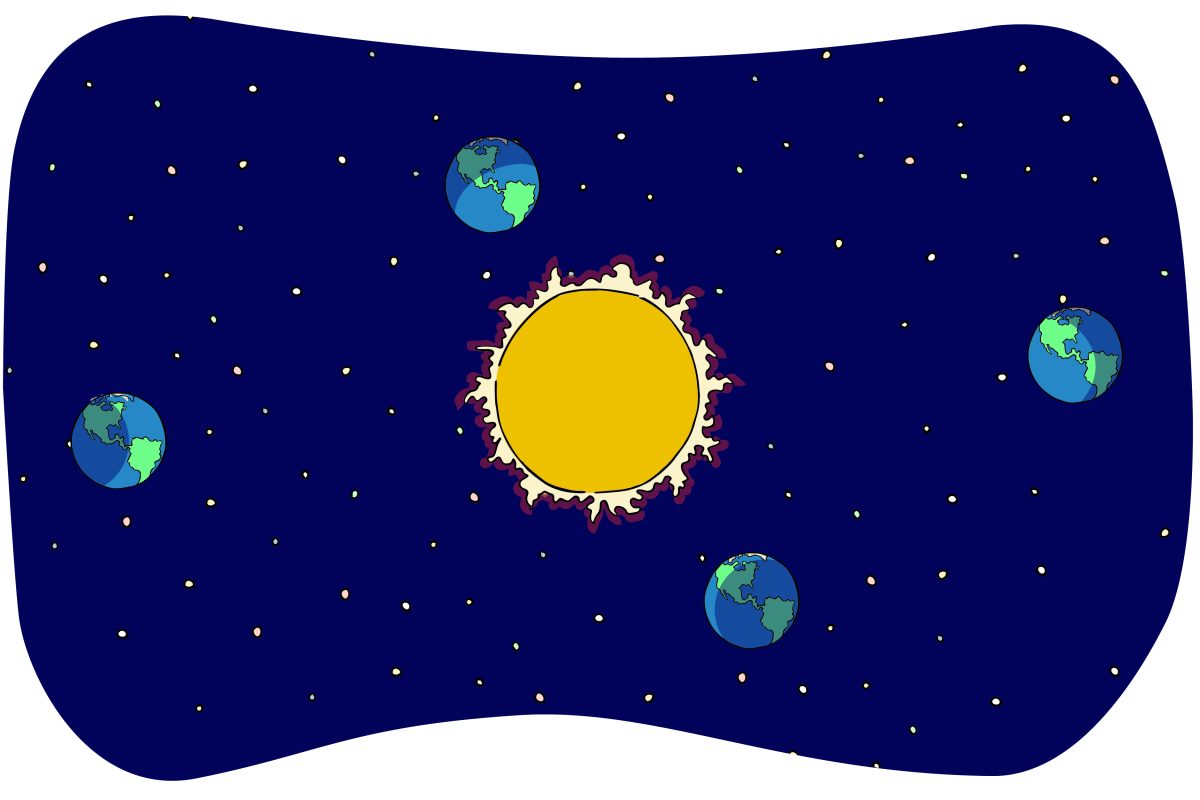
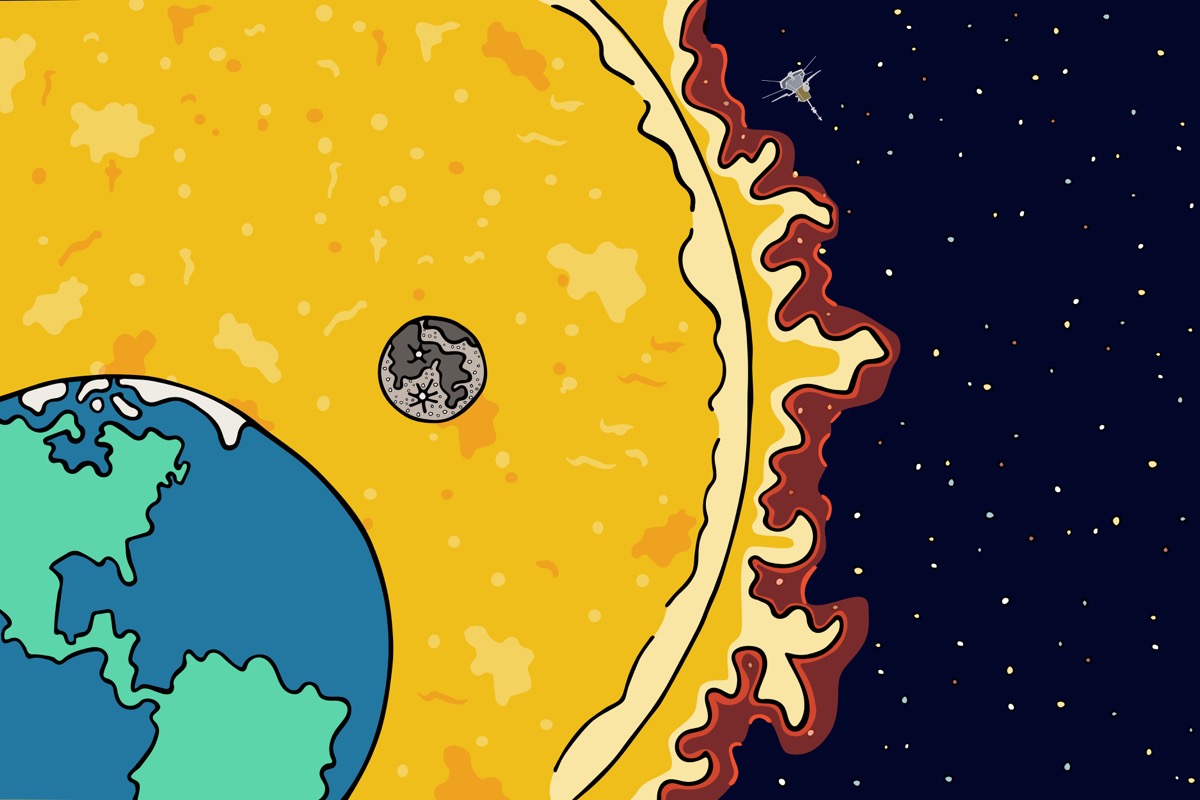
It takes about 8 minutes for the electromagnetic radiation from the Sun to travel the 93 million miles to Earth. When it arrives, some of that solar energy is blocked or absorbed by the atmosphere, but what isn’t blocked is absorbed or reflected by the air, land, water, plants, and other matter that covers the surface of our planet. When the molecules in matter gain energy, they move more, vibrating in place or even bouncing off of one another. You feel the kinetic energy of moving molecules as heat, or thermal energy.
Unlike electromagnetic radiation, heat must be transferred, or conducted, through matter. Some types of matter, like water, are really good at holding onto this energy. Clouds of water particles and gases in the atmosphere absorb some of this heat too. This absorption of heat helps the Earth stay warm. It’s one reason our planet stays at a livable temperature and doesn’t change radically from freezing cold to blazing heat every day.
Visible Light
Most of the radiation from the Sun is in the form of visible light. Within the visible light region of the electromagnetic spectrum above, we find the wavelengths for every color of the rainbow. Red light has the longest wavelength and violet the shortest. White light is actually a combination of all the colors together. When scientists view distant stars, they use spectroscopy to split the light and analyze the colors, similar to the way that white light shining through a crystal or a prism breaks apart the light into a rainbow of different colors. They can use this information to understand the chemical composition, temperature, density, and other information about a star by knowing which colors of light are made by the burning of different materials. This is one way researchers study the Sun.
Ultraviolet Light
Ultraviolet (UV) light has a shorter wavelength than visible light, and because of that is invisible to humans. Scientists divide UV light into UV-A, UV-B, and UV-C. Too much of any form of UV light can be harmful to our skin and eyes (UV-C is the most harmful) and can harm other organisms as well, including plants. Thankfully the Earth’s atmosphere, including a 22-mile-thick ozone layer stratosphere, absorbs much of this UV light.
Organisms also need UV light. For example, your skin uses UV light to make Vitamin D, a vitamin that is necessary for strong bones and a healthy immune system. Because too much UV light can be dangerous and in large supply on sunny days, it’s essential to protect your body from UV exposure when you’re in the Sun by wearing sunscreen or protective clothing and shielding your eyes with sunglasses.
But how do you know when you’re exposed to UV light? Do you need to protect yourself on a cloudy day or when it’s raining? What about when you’re inside, sitting by a window? Do you get the same protection from a t-shirt that you do from sunscreen?
Let’s find out!
Materials
- UV-sensitive beads
- Embroidery floss
- Sunscreens (different SPFs)
- Construction paper (darker is better)
- Compass or GPS app on the phone (optional)
Safety and clean-up notes: Never look directly at the sun while doing any of these activities! It can seriously hurt your eyes. While outside, take care to be aware of your surroundings.
Exploring Ultraviolet Light
For this experiment, you will use UV-sensitive beads to measure the amount of UV light in different situations. These plastic beads have a colorless photochromatic dye in them–they change color in response to UV light! The chemical structure of the dye physically changes when in the presence of UV light. When the beads are exposed to sunlight or light from another UV source, they quickly change into different colors. The darker the color, the more intense the UV light. When the UV light is removed, the colorful beads return to white. This cycle can be repeated thousands of times.
You will make a bracelet out of the beads and then test it in different locations to determine how much UV light there is. Don’t have UV-sensitive beads? No problem! We have an alternative activity that uses construction paper instead.
Activity 1: Testing UV-Sensitive Beads
- Wrap your tape measure around your wrist loosely. Record the number of inches. Add at least two inches to that number. Cut a piece of string or thread to that length. (Alternatively, some young children find it easier to string beads onto a chenille stem.)
- Thread the beads onto the string. Securely tie the ends together. Slide the bracelet over your hand and onto your wrist.
- Test your bracelet under various indoor lighting: fluorescent, LED, incandescent, etc. Be sure to note color changes, if any. It can be helpful to take pictures that you can compare easily later.
- Test your bracelet near windows in several places in your home. If possible, use your compass or GPS to test a window in the north, south, east, and west. Once again, record any color changes. Test the bracelet from inside a car near a window as well.
- Test your bracelet outside in various lighting conditions, such as a sunny open place versus the shade under a tree. Try the bracelet on days with different weather conditions, such as sunny and cloudy days.
- Test your bracelet outside in a sunny location at different times of the day.
- Use your compass to test the beads while you face different directions.
- Test your bracelet under different types of sun protection. Hold a pair of sunglasses over the beads. Hold different types of fabric over the beads. Place the bracelet in a clear plastic snack bag and cover the bag with sunscreen lotion.
Once you’ve tried a few different tests for your beads, review the results.
- What did you observe? Did the beads change color inside? If so, when?
- Did the color of the beads get darker under some conditions than in others? Why?
- What conclusions can you draw about when you need to protect your skin or eyes from UV light?
How can you extend this experiment? For example, if you have different SPF levels of sunscreen, prepare several bags coated with a sample of each sunscreen. (Make sure you label the bags!) Test your bracelet, starting with the highest SPF and continuing until the lowest. Did the SPF level make a difference? Can you compare spray sunscreen to lotion sunscreen? Can you compare mineral sunscreen to chemical sunscreen? What happens if you use sun tanning oil instead?
UV-sensitive beads aren’t the only things that change color when exposed to UV light. UV light will damage the pigment in construction paper over time. The reaction isn’t as quick as the solar beads, but with patience, you can perform several tests. You can even get creative and make neat Sun prints using sunscreen as paint!
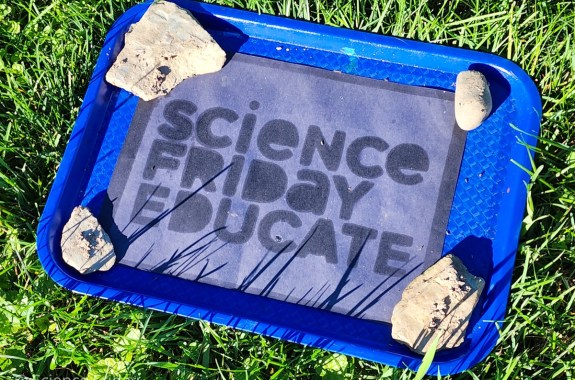
Activity 2: Capturing UV Light With Construction Paper
- Select a darker-colored construction paper such as black, blue, red, or green.
- Cut a piece of paper into matching squares or rectangles. Label each with a number using a pen or marker.
- Select several indoor and outdoor locations. Place a piece of your construction paper in each location. Write down the number and location in which you place each piece. You may need to use a small rock or some tape to hold your paper in place.
- Leave the paper for at least 3-4 hours. Check on the paper to see how it is changing. Record your observations. Make sure that every piece of paper is left in the light for the same time before collecting them.
- Look at your samples. Which location lightened the pigment of the paper most? That is the location you want to use for the next step.
- Use sunscreen (at least SPF 30) with a paintbrush or your finger to create a design on the paper.
- Place your paper in your selected location and leave it for 3-4 hours.
Gather your samples and your notes. Compare the results from your two experiments.
- What types of locations discolored your paper most quickly?
- Were they the same as the location that made your UV-sensitive beads darkest? Why or why not?
- What happened when you used sunscreen on the paper?
Use What You’ve Learned
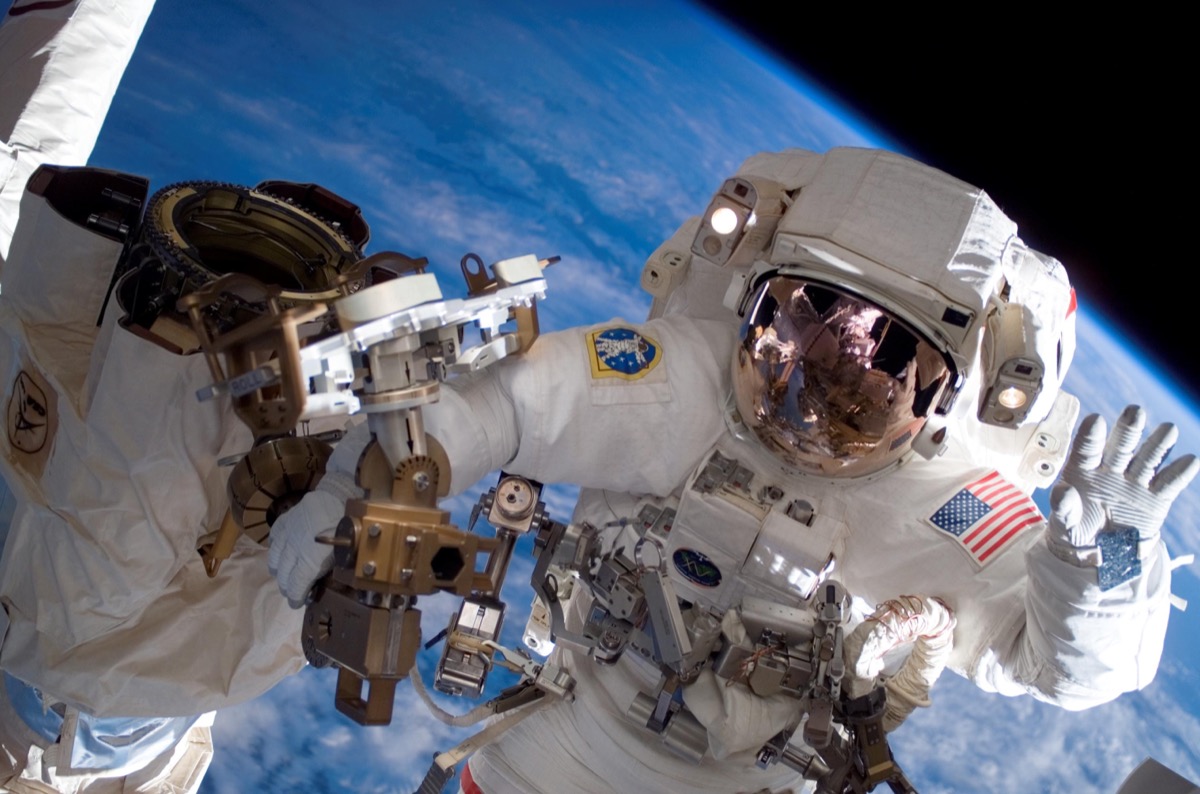
Once they leave planet Earth, astronauts don’t have the protection of the atmosphere. In space, they are exposed to more radiation from the Sun. Engineers and scientists carefully design all space shuttles and outposts like the International Space Station (ISS) to protect astronauts from the harmful effects of the Sun’s light while allowing them to see stunning views from space. Likewise, the astronauts’ spacesuits are designed to protect their skin and eyes.
Imagine you’re on the engineering team responsible for protecting astronauts from the damaging effects of light on their next mission. What would you make? Think about what you have learned from your experiments. What methods could you use to protect the astronauts?
Pick one specific problem to solve. If your goal is to protect the astronaut’s eyes, you might design a visor for their helmet or a curtain for the windows on a space shuttle. If you want to protect their skin, perhaps a coating for the spacesuit would work. Or maybe you want to design a way to block light from the Sun from reaching the ISS.
Don’t forget your design needs to be useful in real life. For example, a spacesuit must be flexible so the astronaut can move. And a visor needs to be transparent so the astronaut can see. What other challenges could you face when designing Sun protection for space travel?
Once you have thought of a few ways to solve the problem, select your favorite. Make a drawing of your solution to the problem. If you like, use craft materials and leftover cardboard to build a model of your design. How would you protect someone working in space?
Keep Learning and Sharing
Once you’ve experimented with UV-sensitive beads and construction paper, you may also want to try other UV-sensitive materials to detect ultraviolet light. Sunprint paper, tonic water, and even kitchen spices like turmeric can be used to detect UV. Research different options and develop your spin on a UV detector.
Want to keep learning about light? Try Light: Shadows, Mirrors, and Rainbows by Natalie M. Rosinsky. If you discover a great book, make sure you share your recommendation with Science Friday. We’d love to see your astronaut safety gear too. Share photos of your project with the hashtag #SciFriSunCamp on social media or send them to educate@sciencefriday.com.
NGSS Standards
- K-2-ETS1-1: Ask questions, make observations, and gather information about a situation people want to change to define a simple problem that can be solved through the development of a new or improved object or tool.
- 1-PS4-3: Plan and conduct investigations to determine the effect of placing objects made with different materials in the path of a beam of light.
- 3-5-ETS1-3: Plan and carry out fair tests in which variables are controlled and failure points are considered to identify aspects of a model or prototype that can be improved.
- 4-PS3-2: Make observations to provide evidence that energy can be transferred from place to place by sound, light, heat, and electric currents.
This activity is supported by the NASA Heliophysics Activation Team (NASA HEAT), part of NASA’s Science Activation portfolio.
![]()
Credits:
Written by Sandy Roberts.
Edited by Ariel Zych.
Illustration by Carrie Lapolla.
Digital Production by Sandy Roberts.
Have you registered for Sun Camp yet? Join today! You’ll get a weekly newsletter, access to interactive Q&As with real scientists, and extra resources for learning.
Meet the Writer
About Sandy Roberts
Sandy Roberts is Science Friday’s Education Program Manager, where she creates learning resources and experiences to advance STEM equity in all learning environments. Lately, she’s been playing with origami circuits and trying to perfect a gluten-free sourdough recipe.