Recreate Darwin’s Experiments In Your Backyard
Biologist James T. Costa recreated some of Darwin’s experiments that led to his theory of evolution. Now, you can try them in the comfort of your backyard.
The following is an excerpt from Darwin’s Backyard by James T. Costa.
Darwin’s “seed salting” experiments were aimed at determining, first, how long seeds might retain their vitality after exposure to saltwater, and second, how long they can float versus sink in saltwater. He performed several versions of this experiment using seeds from many species, including garden vegetables, common weeds, and tropical plants.
A. Materials
Saltwater: prepare anywhere from 1 to 10 gallons (3.8 to 38 liters) of saltwater, depending on the scale of your experiment. We’re interested in approximating seawater. Like Darwin, you can readily make artificial seawater with commercially available salt and mineral preparations. You can purchase your salt mixture from any of the numerous online aquarium supply retailers (Instant Ocean® and Natural Sea Aquarium Salt Mix from Oceanic Systems, Inc. are less expensive brands), or from a local pet shop or aquarium supply store. Or, make your own with this recipe:
Into every 3 gallons (11.4 liters) of fresh water, dissolve:
Chemical and mineral mixtures such as these give freshwater all the qualities of seawater, making it suitable for marine life. If you were setting up a saltwater aquarium to support fish, we would have to pay attention to salinity and quality of the freshwater used. Since we’re simply floating seeds in our saltwater, there is no need to worry about that. By the way, even if you live close to the ocean it is still preferable to use artificial saltwater, as ocean water is full of algae and other microorganisms that will die and decay, fouling the water.
B. Other materials
Darwin's Backyard: How Small Experiments Led To A Big Theory
2. Record the status of the seeds daily, logging for each vessel the number of seeds still floating and the number that have sunk. This can be continued indefinitely, as Darwin did by removing seeds at intervals to see how long they would remain viable after prolonged exposure to saltwater, but it will be more practical for most people to run the experiment for a set period of time—1, 2, or 3 weeks, or whatever you prefer. Larger groups with replicates of each seed species might harvest one replicate per species after, say, 1 week of exposure, a second replicate after 2 weeks, etc. Alternatively, all replicates can be floated for the same period of time in order to obtain descriptive statistics on seed performance among replicates.
3. At the conclusion of the time-span determined for the experiment, record the number of floating versus sunken seeds for each species. First retrieve the floating seeds from each vessel using the spoon, taking care not to sink any seeds. Then retrieve the sunken seeds, making sure to keep each species separate and the still-floating and sunken seeds of each species separate. Rinse seeds in fresh water and plant the seeds using one of the two following methods:
Paper toweling method. Use separate dishes for floaters and sinkers of each species. Place one piece of paper towel on the bottom of the dish, saturate with water, and place seeds. Saturate the second piece of paper toweling and place over the bottom piece, covering the seeds. Place the lid on the dish to seal in moisture. Ensure that all dishes are labeled (species, floater versus sinker, date).
Soil method. Carefully plant each set in adjacent units of the germination flat. (If the flat does not have individual planting units, use string to grid off the flat.) Plant floating and sunken seeds of each species separately. Repeat as necessary, water, and cover the flats or cups with plastic wrap.
4. When all the seeds are planted, expose dishes, germination flats, or cups to indirect sunlight (not direct sunlight) or a growth lamp. Monitor daily and record numbers of seeds of each category (species, floating versus sunken, etc.) germinating.
Record, for each species and each saltwater exposure time (1 week, 2 weeks, etc.):
(a) Number and percentage of floating seeds germinated versus non-germinated
(b) Number and percentage of sunken seeds germinated versus non-germinated
5. At the conclusion of this experiment tabulate the data, noting percentage of seeds sinking and remaining afloat for the experimental period, and the percentage of each category germinating. The results can be related back to Darwin’s original puzzle: How do species colonize remote islands? Two sets of conclusions can be drawn from our Darwin-inspired experiment, relating to flotation and viability in saltwater. First, the seeds of some species do remain afloat for an extended period. What was the duration of your experiment, and how far might they be carried by currents in that time? In a letter to Hooker, Darwin pointed out that “many sea-current go a mile an hour: even in a week they might be transported 168 miles: the Gulf-stream is said to go 50 & 60 miles a day.” Indeed, this is likely an underestimate for some currents: with a maximum estimated surface velocity of 5.6 mph, the Gulf Stream could carry floating seeds over 130 miles per day! Try your hand at calculating this.
6. The sunken seeds might seem less informative for Darwin’s purposes. However, they too provide insights, in showing to what extent seeds might remain viable after saltwater exposure whether floating or sinking. What proportion of your sunken seeds germinated as compared to the floating ones?
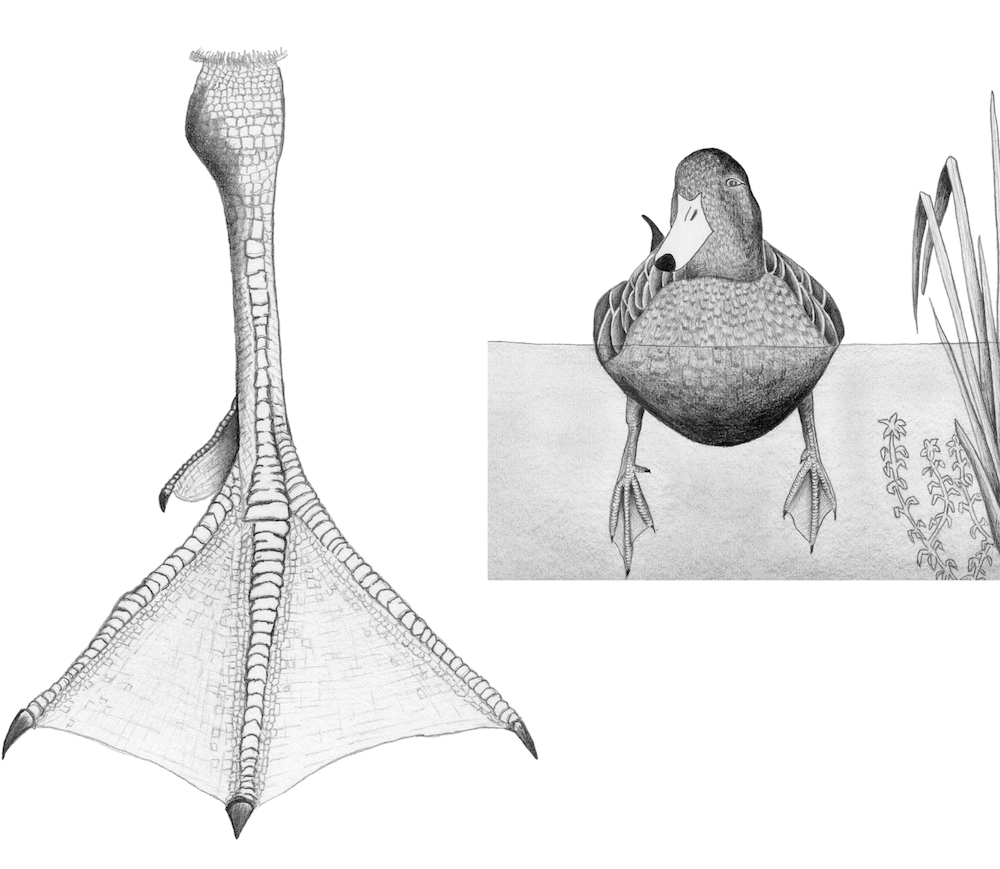
Struck by the occurrence of freshwater snails on many remote islands, Darwin looked into transport by sea and by air: floating or rafting, or airlifted by birds. Experiments showed that freshwater snails could not long survive in saltwater, so he decided that they were given a lift instead. Can waterfowl carry aquatic snails? Snails or other creatures might climb aboard the feet of ducks and geese, especially when ducks sleep, with their feet dangling in the water. To test this Darwin turned to his “snailery”—an aquarium with freshwater snails of all ages—in which he dangled dried duck’s feet. He soon found that several young snails climbed aboard. How long could they hang on? As he later wrote in the Origin: “These just hatched molluscs, though aquatic in their nature, survived on the duck’s feet, in damp air, from twelve to twenty hours; and in this length of time a duck or heron might fly at least six or seven hundred miles, and would be sure to alight on a pool or rivulet, if blown across the sea to an oceanic island or to any other distant point.” Here’s a duck-foot experiment that would do Darwin proud. We’ll see how much aquatic life might colonize model duck feet that we construct.
A. Materials
[Meet the paleobiologist who inspired the science in “Jurassic Park.”]
B. Procedure
Making your duck foot model:
1. Using the sketch pictured here as a template or one of your own making, trace the duck-foot outline onto fabric or other materials used to simulate the webbed portion of a duck’s foot.
2. Using the knife or nail, carefully bore a hole large enough to insert the dowel in opposite sides of the Ping-Pong ball. Insert the dowel through the ball, with approximately 1 in. (2 cm) protruding on one end of the ball (“top”).
3. Secure the dowel in the ball, and seal against water leakage, by applying a dab of silicon or rubber cement around the dowel where it contacts the ball. If using a cork, bore a hole on one end about 1⁄4 in. (0.6 cm) deep and firmly insert one end of the dowel.
4. Use a thumbtack to affix the duck “foot” itself to the base of the longer end of the dowel (“leg”). (Note: multiple models can be made, each with different material for the foot; the efficacy of the different materials in adhering organisms can then be compared.)
5. The aim is to float the model duck foot in water, with the leg and foot dangling down into the water column. Since the dowel leg itself is buoyant, it will likely be necessary to attach a small fishing weight to the shaft of the carpet tack affixing the foot. Test by placing your duck foot model into water (aquarium or filled sink) sufficiently deep to allow the leg to bob upright, foot down. Attach additional tackle weights as necessary to the base to get the model to float upright, but being careful not to add so much weight that the model sinks altogether. When you have the weight in balance, your duck foot is ready for deployment! A fishing line or light string can be attached to the top of the model using a thumbtack.
[Evolution happens more quickly than you think.]
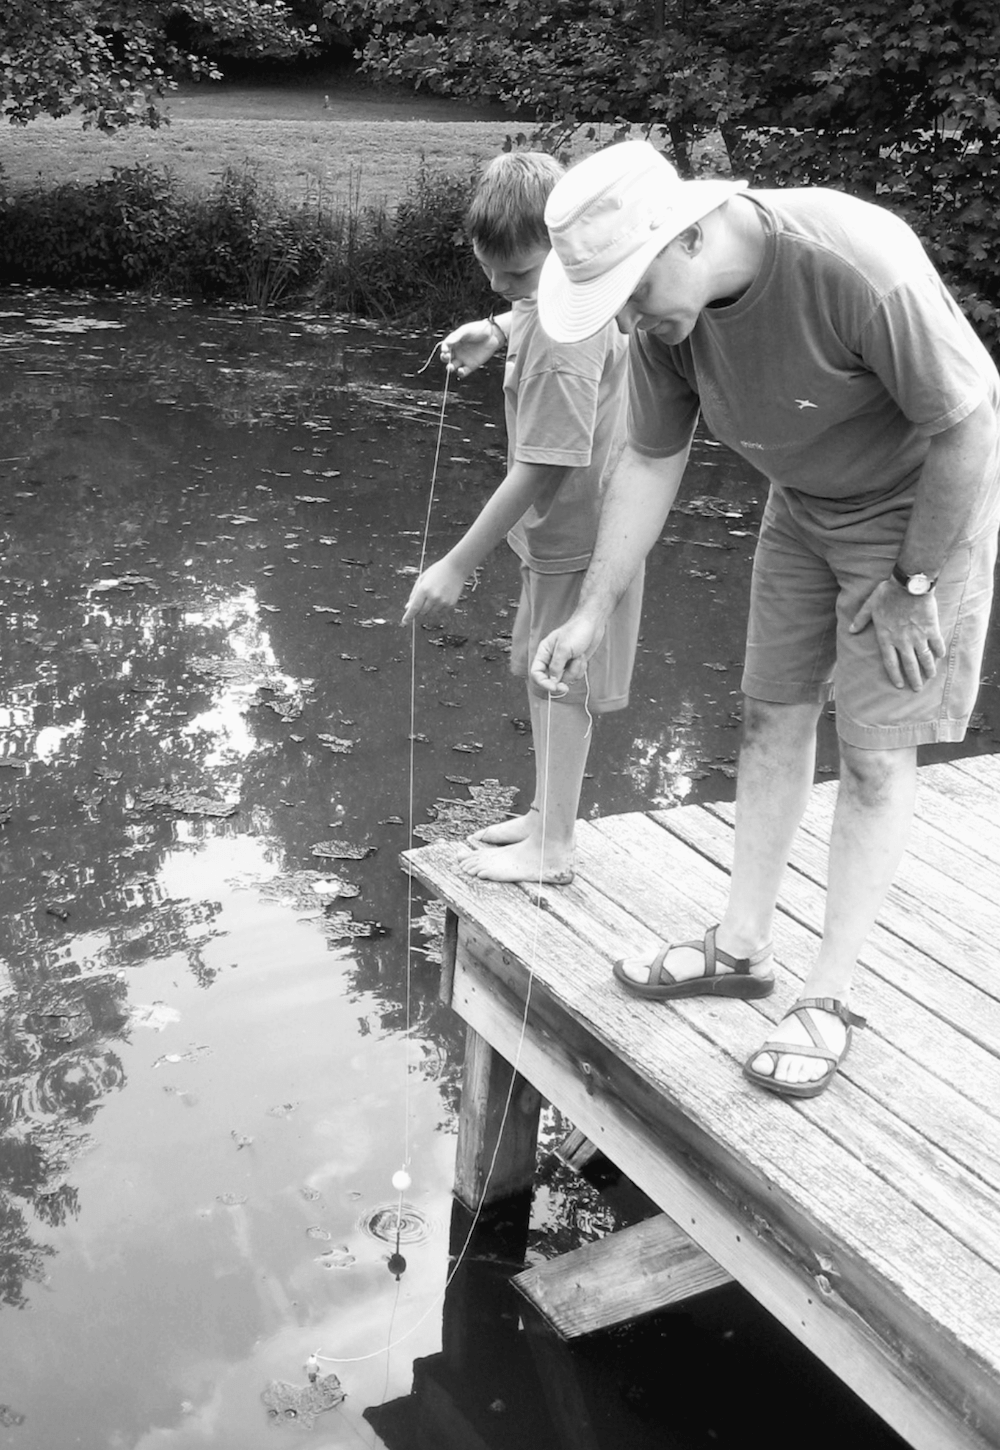
Deploying the model:
2. Permit your duck foot model to float in the pond for at least 2 or 3 days (duration is open-ended). When you recover your model, have a pan or sealable bag ready to receive the model immediately after lifting it out of the water. Don’t collect extra water, just remove the foot from the water directly into the pan or bag. At home, carefully rinse the webbed “foot” over the pan using a squirt bottle filled with fresh water.
3. Use a magnifying glass or dissecting microscope to inspect the foot for any evidence of plant or animal life. Similarly, samples of the pan water can be transferred using a pipet or baster to a petri dish or similar object for observation under the dissecting microscope. It may be difficult to distinguish some small organisms like protists and algae from debris, but careful observation will reveal their structure, and show protozoa continually moving around. Larger organisms—insect larvae, minute snails, etc.—should be obvious. Record the organisms observed, and attempt to count or estimate their numbers.
4. This experiment has a flexible run-time, from days to weeks or longer. With a number of copies the models can be retrieved and analyzed a few at a time—at, say, 1-week intervals over the course of 1–3 months. The number and diversity of organisms adhering to the feet can be tabulated for individual “ducks” and for the group as a whole. Those deploying multiple duck feet can graph the results over time, and/or graph the yield from different foot materials. Do some materials do a better job of attracting colonists? Does the type or abundance of organisms vary among materials, with different materials being richer in different groups?
From the book Darwin’s Backyard by James T. Costa. © 2017 by James T. Costa. Used with permission of the publisher, W.W. Norton & Company, Inc. All rights reserved.

James Costa is the author of “Darwin’s Backyard: How Small Experiments Led to a Big Theory” (W. W. Norton & Company, 2017). He’s also the director of the Highlands Biological Station and a professor of biology at Western Carolina University. He’s based in Cullowhee, North Carolina.