
Grade Level
6 - 8
minutes
45 to 90 minutes
subject
Earth Science
stem practices
Developing and Using Models
Activity Type:
making models, hands-on investigation
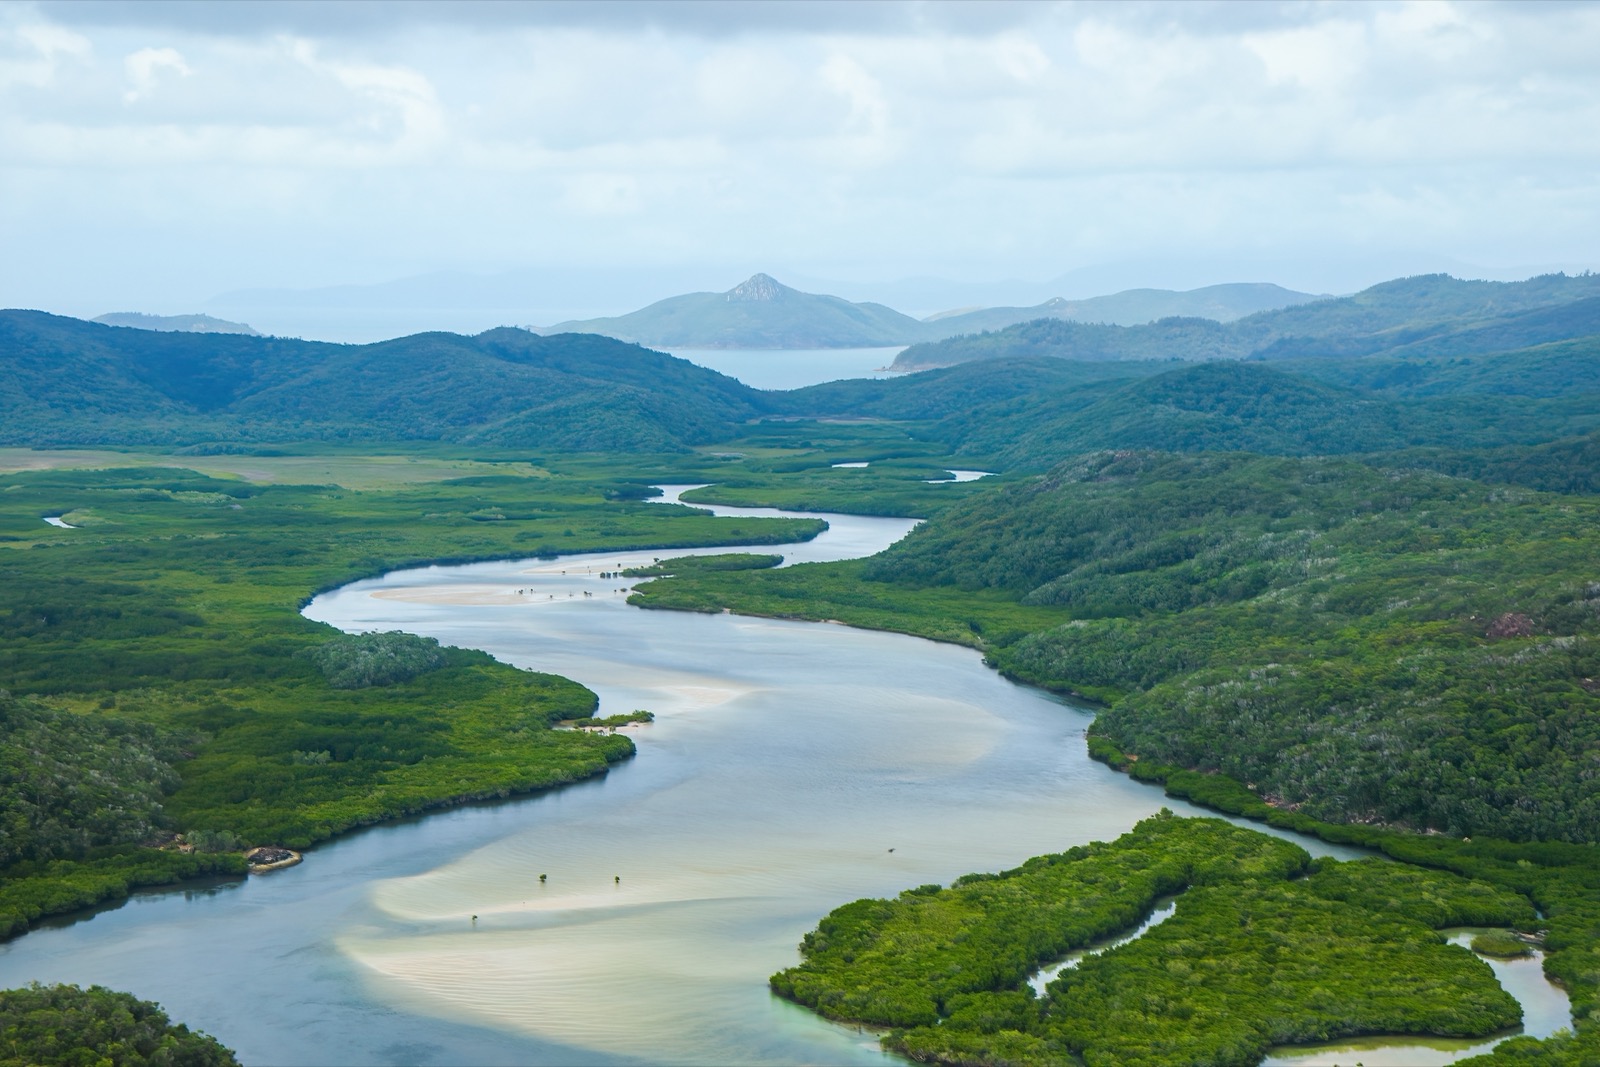
A river is a large flowing body of fresh water that originates from a spring or where rainwater and snow collects, usually in mountains, and runs across land until it reaches another larger body of water, like the ocean. Rivers are important because they sustain life, are part of the Earth’s water cycle, and are responsible for sculpting the Earth’s topography as they carry huge quantities of water and sediment from the land to the sea.
In this activity, students will use a stream table to investigate river formations in two different landscape scenarios. Students will compare and contrast how the formation of the river differs if the topography of the land is changed from a flat plain to a terrain with hills and valleys.
For almost 100 years, scientists have been trying to create a meandering river in the lab. Christian Braudrick and Bill Dietrich of University of California, Berkeley, have finally found a recipe. This video takes you into the lab to see the mini meandering river flow.
Activity Materials
- Rectangular aluminum trays, such as turkey roaster pans, one for each student or group of students
- 32-quart rectangular plastic storage bins, one for each student or group of students
- Bag of sand, enough to fill each aluminum pan halfway
- Spray bottles, one for each student or group of students
- Plastic water jugs with spigot, one per student or group of students
- Wooden blocks, 4 – 6 for each student or group of students
- Water
- Notebooks or science journals, one per student
What To Do
Prep: Use scissors to cut a hole close to the rim on the short side of each rectangular aluminum tray.
1. Start the lesson by having students watch the video above. Ask students to name any rivers that they know in the United States or elsewhere in the world. Write the names of the rivers on the board. What are some similarities or differences between these rivers? For example, do they all flow from north to south? Display topographical images of these rivers and have students discuss how each one is similar or different. Tell students that they will create their own small-scale rivers using a stream table.
2. Hand out one aluminum tray, one plastic storage bin, and a few wooden blocks per student or group. Tell students that each aluminum tray will be their stream table. The wooden blocks will be used to prop the stream table up to form an incline, and the plastic storage bin will be placed under the hole in the aluminum tray to catch any runoff water.
3. Have students pour sand evenly into each tray until it is filled halfway. Spray the sand with water and stir the sand around until it is evenly moistened. This will help hold the sand inside the aluminum tray when it is propped on an incline.
4. Have students place the water jug on the side of the aluminum tray opposite the runoff hole. Students may have to prop the water jug on blocks as well, in order to make sure the spigot reaches the inside of the aluminum tray.
5. Tell students that they will perform an experiment to model and compare differences between river formation on a flat but inclined terrain, and river formation on a landscape with hills and valleys. During each activity, have students record their observations in their science journals, and create a final sketch of the resulting river.
Activity 1 – Flat, Inclined Terrain Model
1. Have students smooth and flatten the surface of the sand and then place one or two wooden blocks under one side of the tray to create a slightly inclined plane. Students may have to adjust the position of the water jug so that the water will pour in directly from the top of the inclined tray.
2. Ask students to predict what will happen when the water is turned on. Have students turn on the water so that it pours in a steady, moderate stream.
3. Have students record their observations in 10-minute intervals for about 20 – 30 minutes. Students should include sketches at each interval.
4. Turn the water off after 20 – 30 minutes. Have students discuss the similarities or differences between each of their models. What were their observations? Did each model have the same result? How did the landscape influence the course of the river?
5. Have students empty the water from the plastic bin and refill the water jug to prepare for the next experiment.
Activity 2 – Hills and Valleys Landscape Model
1. Have students remold the sand in the tray to create a surface with several hills and valleys.
2. Ask students to predict what they think will happen in this scenario. Will the same river formation happen? Have students turn on the water so that it pours in a steady, moderate stream.
3. Have students record their observations in 10-minute intervals for about 20 – 30 minutes. Students should include sketches at each interval.
4. Turn the water off after 20 – 30 minutes. Have students discuss the similarities or differences between each of their models. Did each model have the same result? How did each landscape influence the course of the river? How were the results different or the same, compared to the flat and inclined model?
What’s Happening?
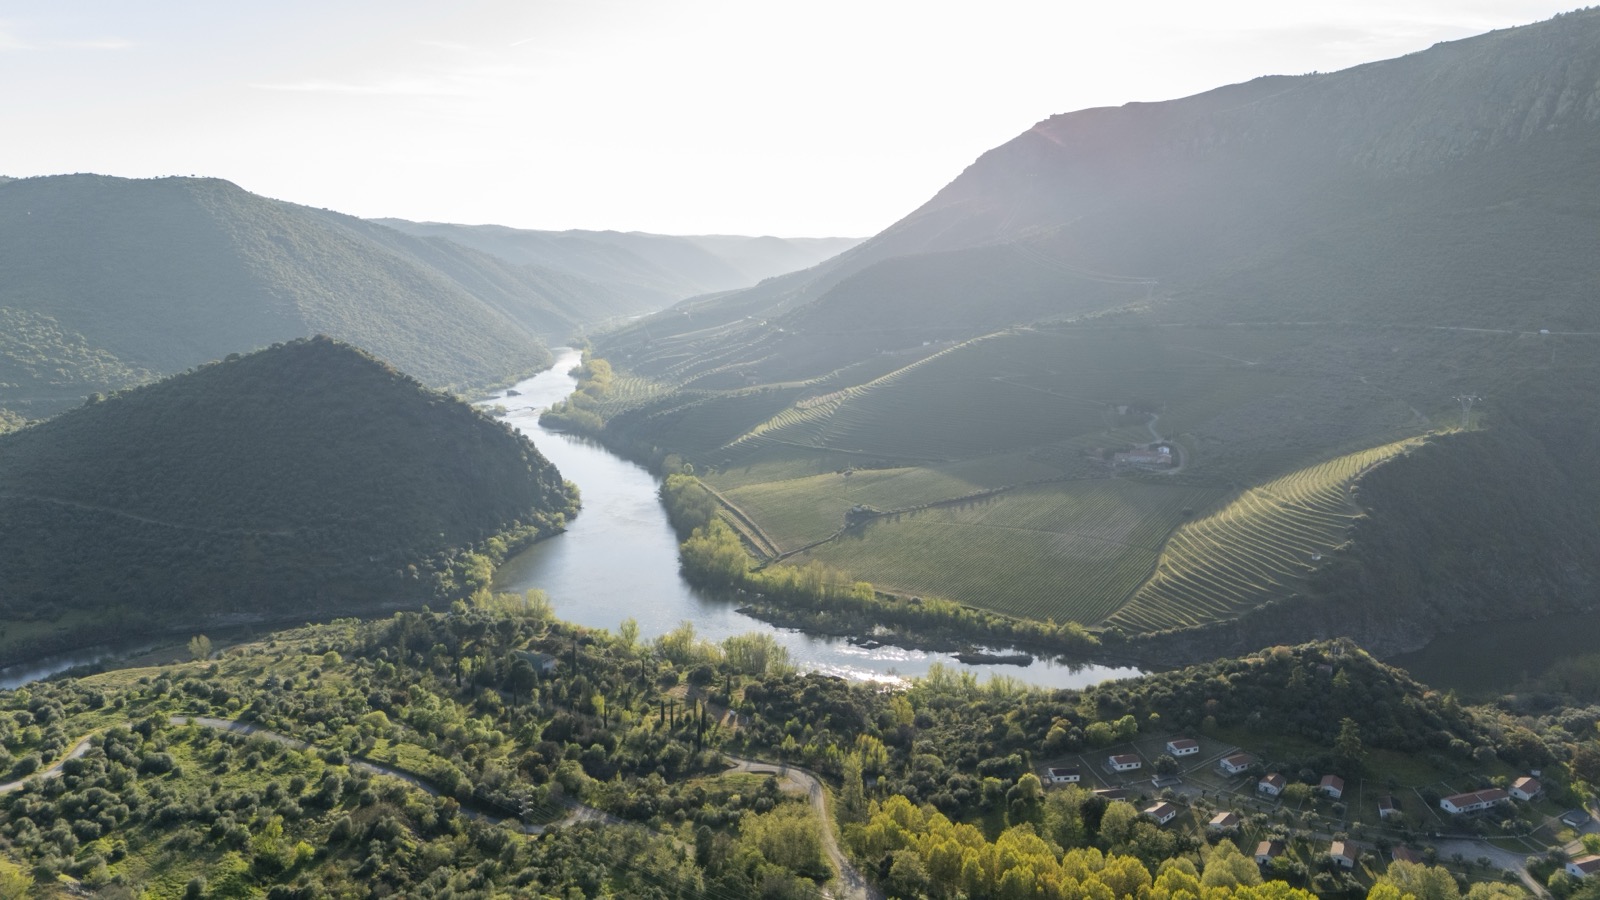
If you’ve been in mountains and seen a spectacular waterfall, you probably were looking at the beginning of a river. Most rivers begin on top of mountains where water from rain or melting snow collects. Under the influence of gravity, this water flows downhill to form brooks, streams or rivers. As the stream or river flows downhill, it can change the landscape by eroding rocks and depositing sediments.
In this activity, students use a stream table to compare the differences in how a river flows through two different landscapes. The differences and similarities between the two landscapes will depend on several variables: speed of the water, topographical features, degree of inclined plane, etc. Some observations that can be made by comparing both models are:
- The speed of the water flowing downhill will be affected by the degree of incline, and any structures or topographical features in its path.
- The faster the water flows, the more erosion occurs.
- Water flowing downhill moves and deposits sand at the bottom of the river. The faster the water flows, the more sand will be deposited at the bottom. A delta at the mouth of a river forms in the same way.
Although the formation of the “rivers” in this activity appeared very quickly, in reality rivers can take millions to billions of years to form a path from land to sea.
Topics for Science Class Discussion
- How would the river formation be affected if the water continued to flow for one hour, two hours or three hours?
- How would the river formation or pattern be affected if the sand were replaced with soil?
- How can the stream table be used to simulate a landslide? What variables could be changed to induce a landslide?
- What are some kinds of man-made structures or human activities that can affect a river system? Can students name American rivers that are being affected in these ways?
- Can students name an important American river that does not originate in mountains?
Vocabulary
- River source: the beginning of a river, also called the headwaters.
- River mouth: the place where a river flows into a larger body of water, such as another river, a lake, or an ocean.
- Upstream: in or toward the source of a river.
- Downstream: toward or nearer the mouth of a river.
- Tributary: a smaller stream or river that joins a larger stream or main river.
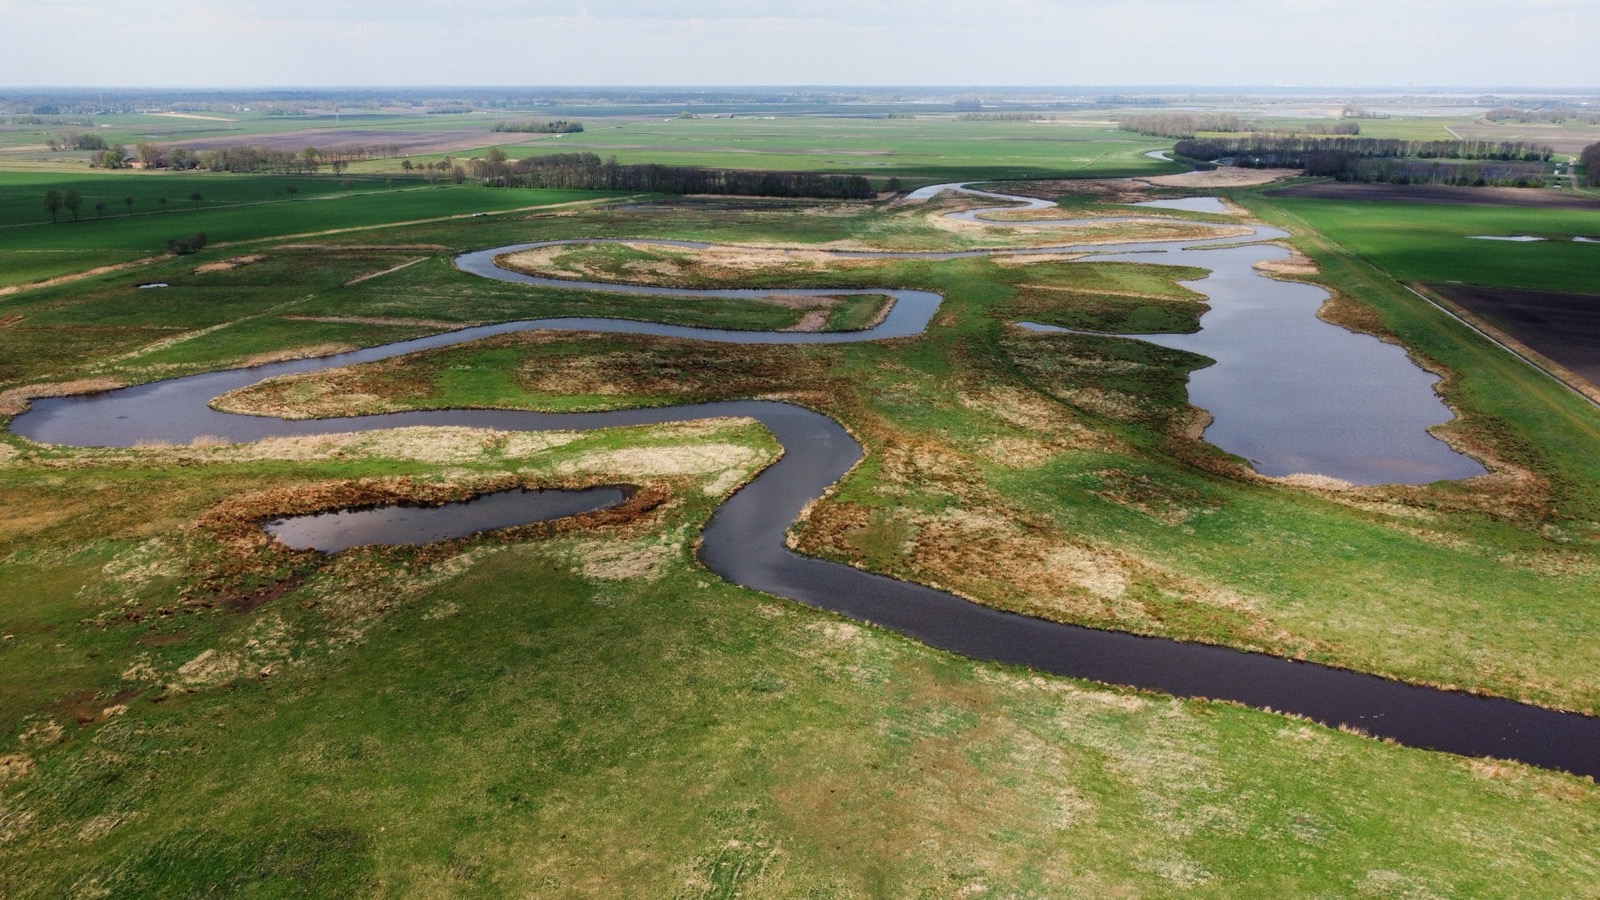
- Meander: a loop or bend in a river.
- Erosion: the gradual wearing away of land surface materials, especially rocks, sediments, and soils, by the action of water, wind, or a glacier.
- Deposition: the accumulation of natural materials by a gradual process.
Extended Activities and Links
- Extend the activity by changing some of the variables to observe how it affects the river’s path and speed, or the erosion and deposition of sand. Students can create their own variables to test or try one of the following:
– Place other objects in the sand, such as small pebbles, stones or small plastic houses or trees.
– Build a dam in the middle the river.
– Place two or three water jugs next to each other and turn all spigots on at the same time.
– Mold the sand into a valley. Compare the differences when the water flows directly down the middle, to what happens when the water flows from the inclined section of the valley (the long side of the tray). - Have students research and define the common parts of a river system (river source, river mouth, tributary, meander, upstream, downstream). Students then can label their stream table sketches with the appropriate parts.
- Play a game for learning the names of the rivers of the world.
- Have students research a local river, or assign them one of the important rivers of the world. Students can prepare a presentation to the rest of the class that reviews ecological and historical highlights about the river. Or they may create a poster that includes a topographical sketch or image of the river and the different kinds of life that the river sustains.
- Learn more about river processes through online interactive exercises.
- Learn about the projects conducted by scientists on rivers around the world and explore an interactive feature that demonstrates how the Nature Conservancy protects freshwater resources worldwide:
This lesson plan was created by the New York Hall of Science in collaboration with Science Friday as part of Teachers Talking Science, an online resource for teachers, homeschoolers, and parents to produce free materials based on very popular SciFri Videos to help in the classroom or around the kitchen table.

The New York Hall of Science is a science museum located in the New York City borough of Queens. NYSCI is New York City’s only hands-on science and technology center, with more than 400 hands-on exhibits explore biology, chemistry, and physics.
Meet the Writer
About New York Hall of Science
The New York Hall of Science is a science museum located in the New York City borough of Queens. NYSCI is New York City’s only hands-on science and technology center, with more than 400 hands-on exhibits explore biology, chemistry, and physics.