Use Your Senses To Make Sense Of Your Soil
You can see, feel, and even smell the difference between good and lousy soil.
It’s springtime! The flowers are blooming. The bees are stinging. The humans are emerging from their winter lairs. And, of course, it’s time to start working in the garden.
As any seasoned gardener will tell you, one of the most important parts of growing plants and flowers is the quality of your soil. But if you’re just getting started, how can you tell if your soil is healthy? David Lindbo, the director of the Soil Science Division at the US Department of Agriculture’s Natural Resources Conservation Service, told us how we can read the profile of our soil just by using our senses. And even if you’ve been gardening for a few years, like our host Ira Flatow, you may learn a thing or two.
When trying to find out more about your soil, the important thing to keep in mind is organic matter. Organic matter can take many forms, but one of its most effective form is compost. Compost (essentially fertilizer) breaks down material in the soil that produces elements that plants like to consume, including nitrogen, phosphorus, potassium, according to Cornell University. It also helps with soil structure, water distribution, and keeping the overall plant system healthy and balanced.
First, take a handful of soil and smell it. As David says, “It should smell earthy, kind of sweet, not sour. Smell really does tell you a lot about the soil.” According to Northern Illinois University, that fresh smell is a chemical byproduct of a small organism that indicates healthy, productive soil. Soil that smells rotten, like ammonia, is an indicator of bad drainage or lack of oxygen, as stated by the USDA.
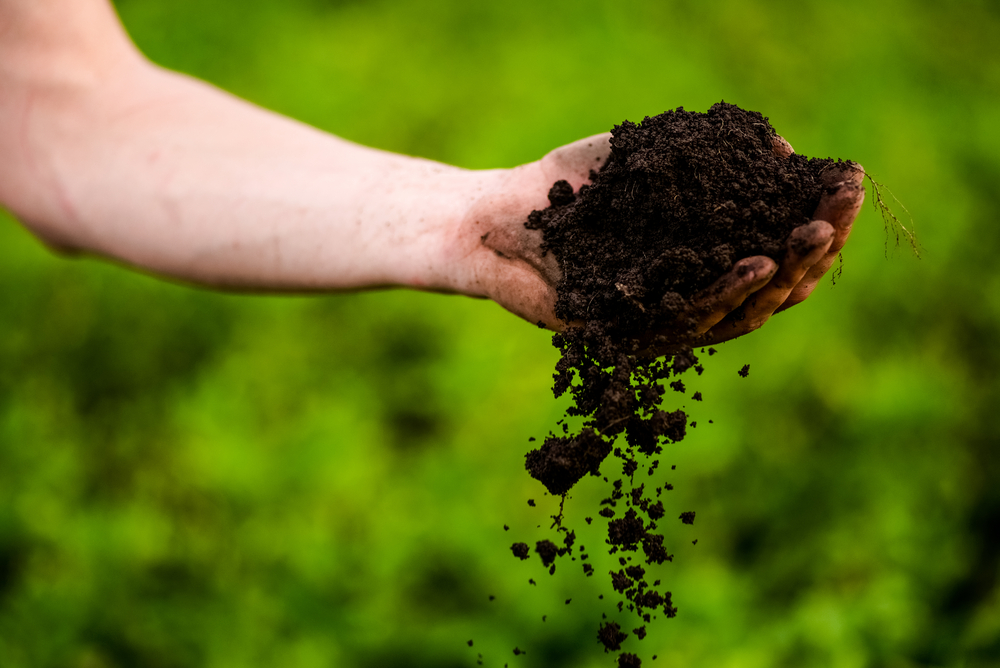
Next, touch some with your hands. It should crumble easily. If the soil is compact, it prevents water from being appropriately used throughout the plant system. “You can also determine if it’s compacted by just sticking a flag or a coat hanger into it, and if it resists, you have some compaction,” says David.
Even though it may seem obvious to till compacted soil, David recommends against this. Tilling actually causes more damage to the soil because it exposes organic material to air, speeding up mineralization and erosion. David suggests gently working organic matter into the soil. It allows the roots to penetrate and the water to drain. You don’t want your roots to be waterlogged.
As David says, it might be helpful to think of it as a bowl of granola. “You can add some milk to it and it stays pretty crunchy,” he says. “But if you took that granola and crushed it before you added the milk, and then added the milk, you end up with mush. And you don’t want that in the soil.”
As you’re holding the soil, think about the texture. Is it sandy? If so, you may need to add more organic matter. According to David, “if it has too much clay and it’s too sticky, again, organic matter can help a great deal.”
[How orchids use mimicry, fraud, and deception to attract pollinators.]
Speaking of structure, you don’t want to work the soil when it is too wet or if it rained lately. “That can destroy the structure,” says David. “The structure is how the individual particles of sand, silt, and clay are arranged. If you break the structure up, you can smear the soil, puddle the soil, and that can actually cause problems and increase the amount of compaction that you have in the soil. So don’t work it when it’s too wet.”
You should also take a look at the color of the soil. In general, a darker color means the soil has has organic matter in it. As mentioned in this fact sheet from the Cornell University College of Agriculture and Life Sciences, one of the organic components, humus (not to be confused with hummus, the chickpea-based spread) contributes to better soil structure by facilitates a process called cation exchange capacity and has the side effect of darkening the soil—so the darker, the better.
Okay! We’ve assessed the health of our soil. Now it’s time to dig a hole—which may be one of the most important parts of the process. “We say if you have a $5 plant, you want a $20 hole,” says David. “Time that you spend preparing it will be beneficial.”
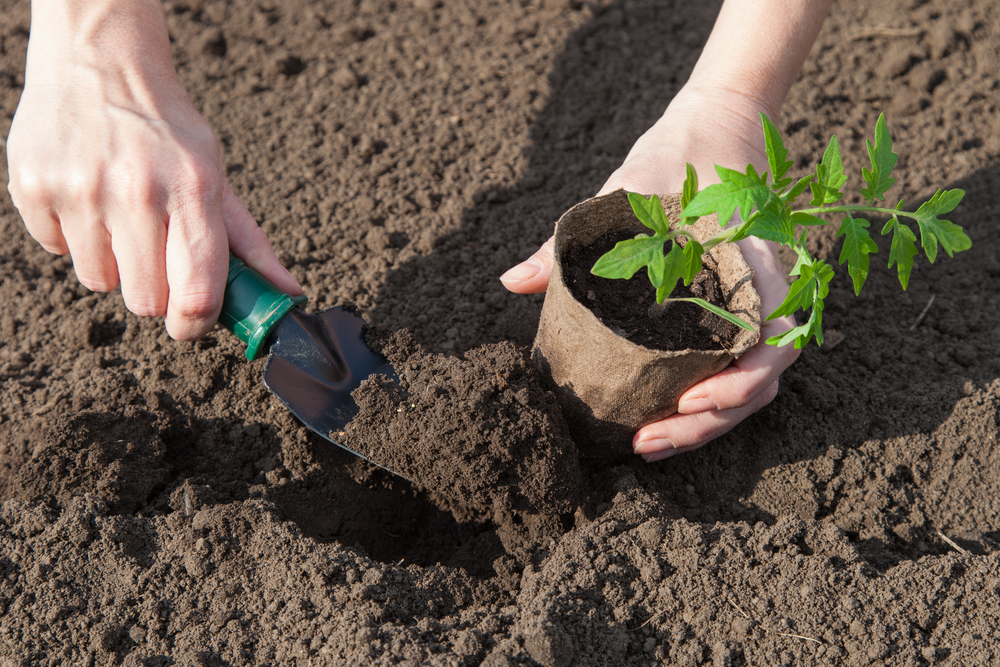
One common mistake? Don’t pat and compact the walls of a hole—it won’t make it more stable. “Go in, dig the hole out, make sure that the edges of the hole are broken up, they’re not smeared,” suggests David. That allows the roots to be able to get into the hole, allows water to get out of the soil as well as back in, and your plant will be much happier.”
And again, adding some compost to the bottom of the hole ensures that you don’t put the plate in too deep.
“At the end, you don’t have to pat down around it,” he says. “A little bit of a ridge around the edge of the hole to trap some water would be great, but don’t pat it down. You’ve just kind of destroyed what you’ve just done.”
After you’ve placed your plant in your new hole, water it afterwards. That allows the soil to settle and gives good structure to the soil. Be gentle!
And one more time for the road: adding compost can drastically improve the health of your garden. “I sound like a broken record, but organic matter does an awful lot to really help improve the soil and improve the soil health,” says David. “So that’s the best thing you can do.”
Dee Peterschmidt is Science Friday’s audio production manager, hosted the podcast Universe of Art, and composes music for Science Friday’s podcasts. Their D&D character is a clumsy bard named Chip Chap Chopman.