
Grade Level
6-12
minutes
Multi-day
subject
Chemistry
Activity Type:
STEAM, kitchen chemistry, Family activity, food science
Some of the driest places on Earth are also some of the most challenging to develop for agricultural use, residential expansion, and economic growth. That’s why scientists are searching for simple, low-cost ways to let people in remote desert regions produce clean water that’s safe for drinking, cooking, and growing the crops they need to survive.
For years, researchers in the field of Atmospheric Water Harvesting (AWH) focused on mechanical structures inspired by desert-dwelling plants and animals, such as bumps on the back of the Namib desert beetle that can grab drops of morning fog.
But scientists at the University of Texas at Austin are trying a different approach. They are testing hydrogels to capture and release water—using the same kinds of ingredients that go into bubble tea, instant noodles, and eye drops.
Try the activities below to see how hydrogels work. Then use them to grow tasty veggies and add them to recipes to make fun desserts!
What Are Hydrogels?
Hydrogels are a type of polymer (a long chain of molecules) that can hold a large amount of water, but don’t dissolve. They are hydrophilic, which means they attract water molecules – and when they do, they can swell to many times their original size. There are also hydrophobic polymers that repel water.
The UT Austin scientists made a new hydrogel material from two main substances:
- Konjac gum, a common ingredient found in Asian cooking, comes from the root of the konjac plant. It’s used to make instant noodles and crystal boba for bubble tea. It is hygroscopic, which means it can absorb water vapor from the air.
- Hydroxypropyl cellulose (HPC), is a fiber that comes from wood and plants. It is used as a substitute for gluten in baking, and in medicines such as artificial tears. HPC is also thermo-reversible. It can both absorb and release moisture, depending on the temperature.
By combining these substances, scientists built a water condenser that needs no electricity. At night when it’s cool, it takes water vapor in. By day when it’s warm, liquid water oozes out. With two-thirds of the world’s population now feeling the effects of water shortages, these kind of simple water harvesting materials may be part of the solution to the growing problem of finding fresh water.
Pulling Water From Thin Air? It’s Materials Science, Not Magic.
How Does Water-Loving Gel Work?
In these two activities, you’ll test how big hydrophilic gels can really get when they absorb water and what happens when they release it. Then you’ll use water stored in the hydrogels to grow new plants.
Materials for Activities 1 and 2
- One tablespoon small garden-safe gel beads, such as Orbeez Seeds
- 2 cups water
- A large measuring cup or clear container for testing the beads
- Vegetable scraps such as the tops of root vegetables like beets and carrots (the tops are edible), the bottom of leafy greens like celery or romaine lettuce, or onion-like plants (scallions, leeks, and garlic), a stem of an herb like basil, mint, or oregano
- Pots or containers for starting small plants, such as disposable or recycled food containers
- A dish or tray big enough to hold the veggie pots
Safety and clean-up notes:
- Do not let children or pets eat water beads. Although they are usually non-toxic, they can still be a choking hazard or cause harm by expanding in the digestive tract.
- Make sure the brand of water gel beads you use are marked as non-toxic. Orbeez brand states their beads are safe for growing vegetables.
- Adult supervision may be needed to create drainage holes in the pots.
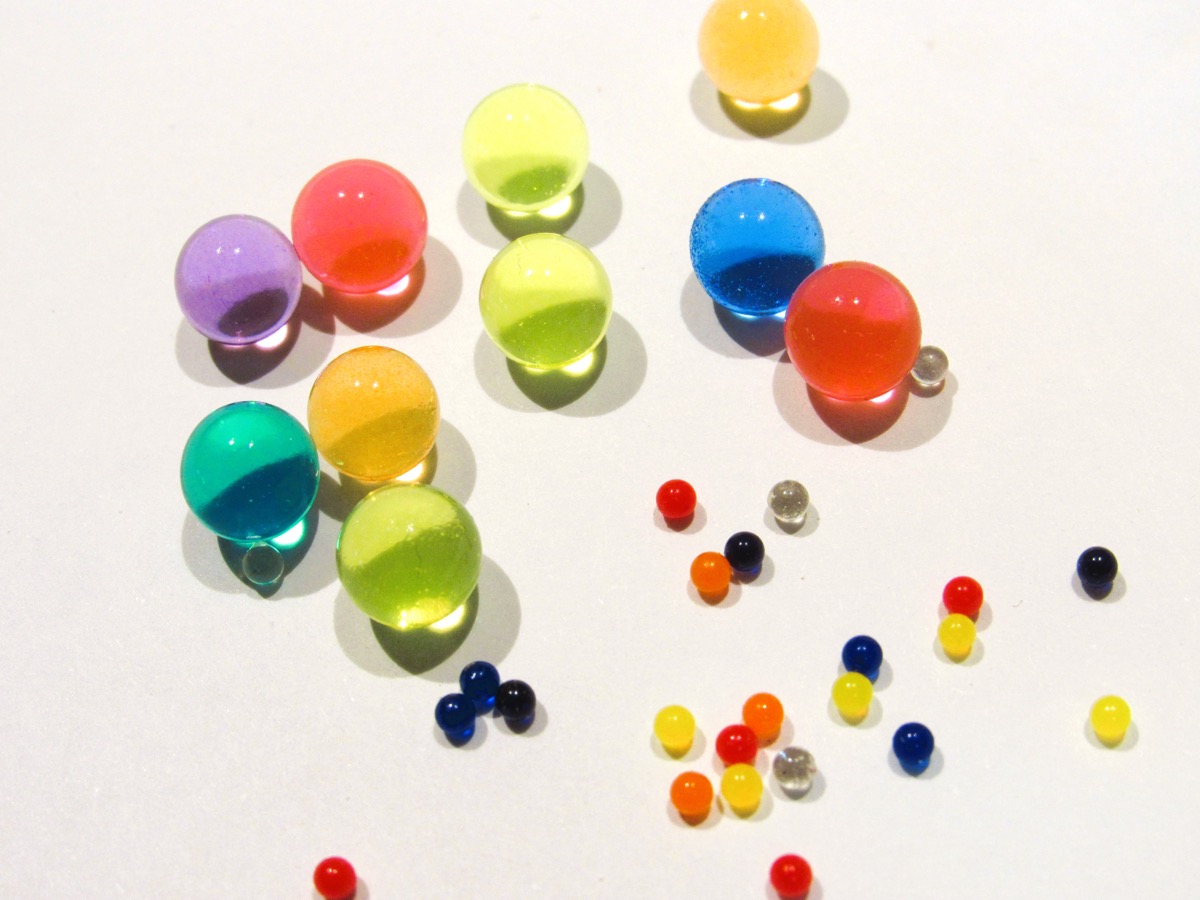
Activity 1: Test A Hydrophilic Gel
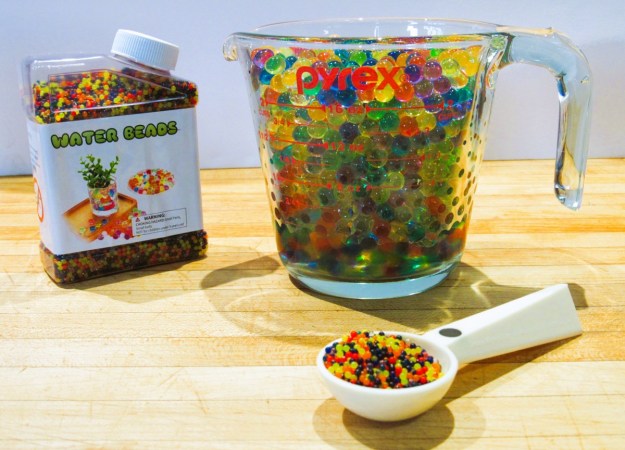
Start your experimentation with hydrogels by testing how muchgel beads expand when added to water and how long it takes for them to release the water and shrink again.
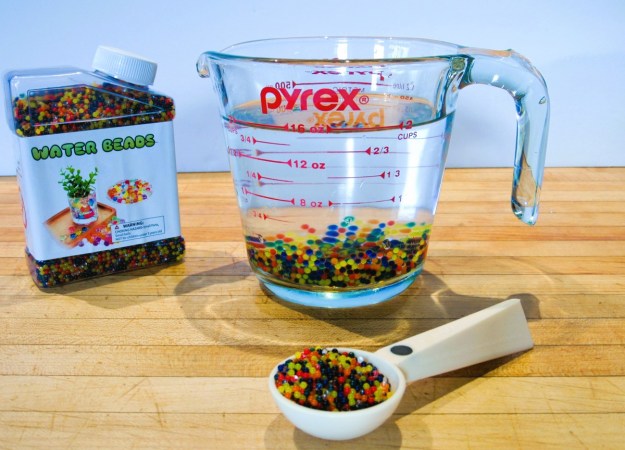
- Place the dry gel beads in a mesh strainer. Rinse with running water.
- Pour the rinsed beads into a measuring cup or clear container.
- Add the water to the gel beads.
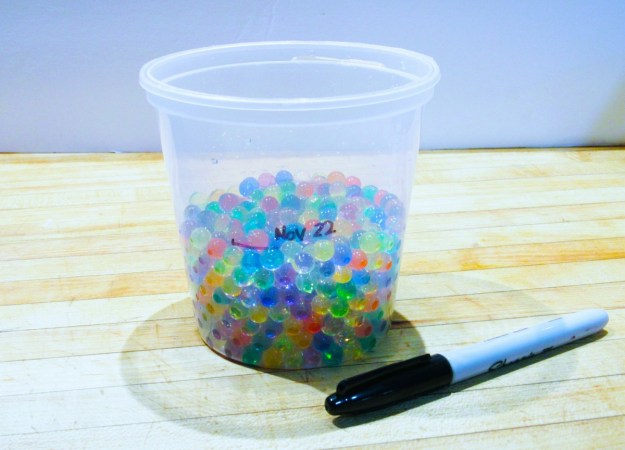
- Make a note (or take a photo) of the height of the beads and the height of the water. If using a disposable container, mark those levels with a waterproof marker.
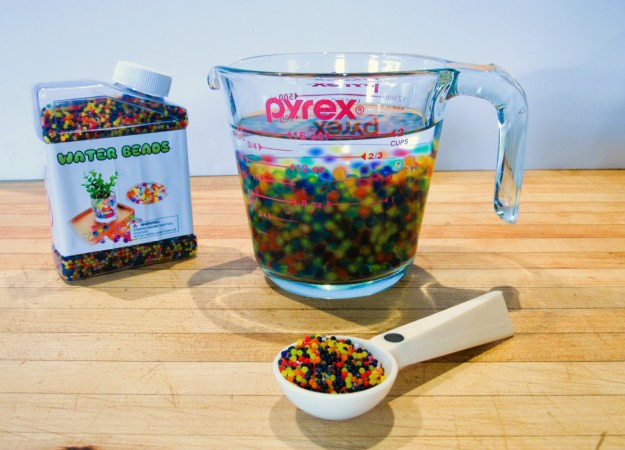
- Let sit for about two hours, or until most of the water is absorbed. Carefully drain off any excess water.
- If you plan to go on to Activity 2 (growing vegetables), do that now, and save some leftover beads from that activity for Step 7.
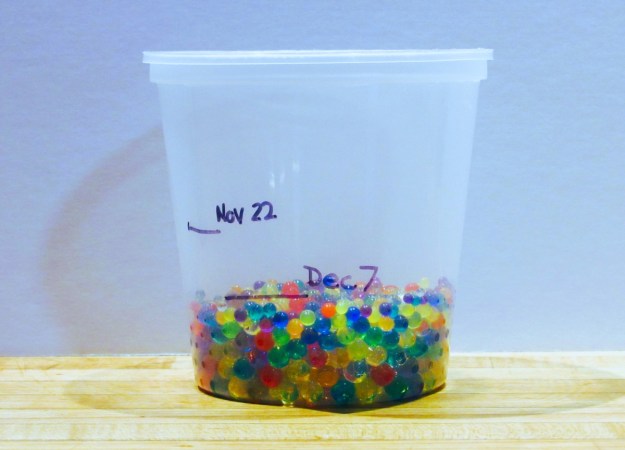
- Mark the level of the beads on the container. Watch over several days to see the beads shrink back down as they dry.
As you work on this activity, consider these questions.
- How can you calculate the amount of water the beads are holding?
- Where does the water go when the beads shrink back down?
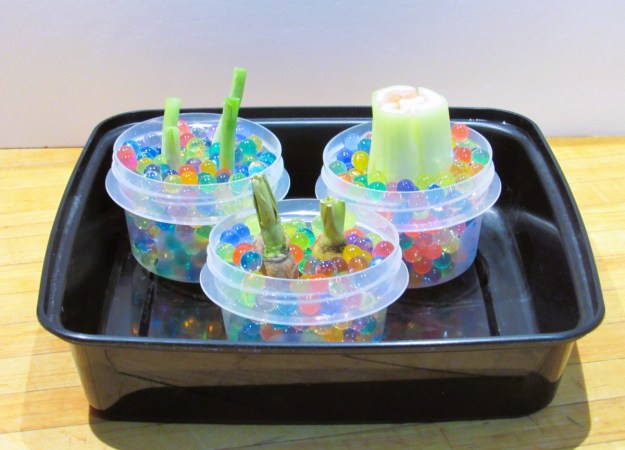
Activity 2: Grow Veggies With Your Gel Beads
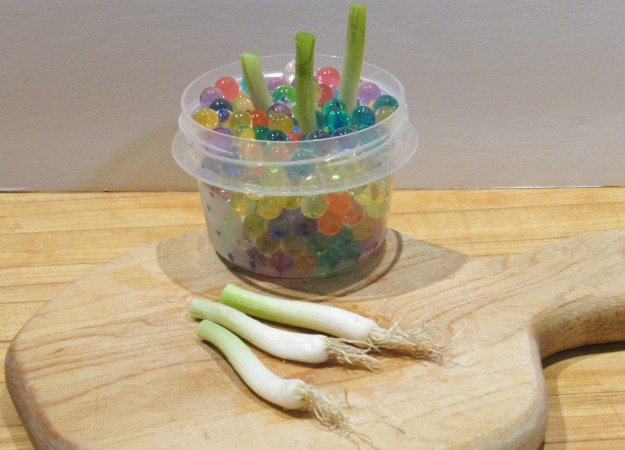
For this activity, you’ll use the beads you hydrated (the ones you added water to) in Activity 1 to fill containers for re-growing vegetable scraps that produce edible greens such as the leftover white bulb portion of a scallion or the leafy top of a carrot. The beads hold onto water that helps new roots grow.
- If your veggie pots don’t have drainage holes, carefully cut or poke holes around the sides, near the bottom.
- Take the pots and fill them about halfway with expanded water gel beads.
- Snuggle the root end of the veggie scraps in the beads.
- Spoon or pour in enough beads to hold the plant upright. Make sure the leafy part of each plant is sticking out.
- Place the pots in the tray to contain any overflow.
- Before your plants have sprouted roots, you may need to water them every few days. After that, you may be able to let them sit as long as a week without watering.
- When the plants look dry or the beads are visibly smaller, fill the tray halfway with water. Let the beads sit for about two hours. Then drain any leftover water from the tray.
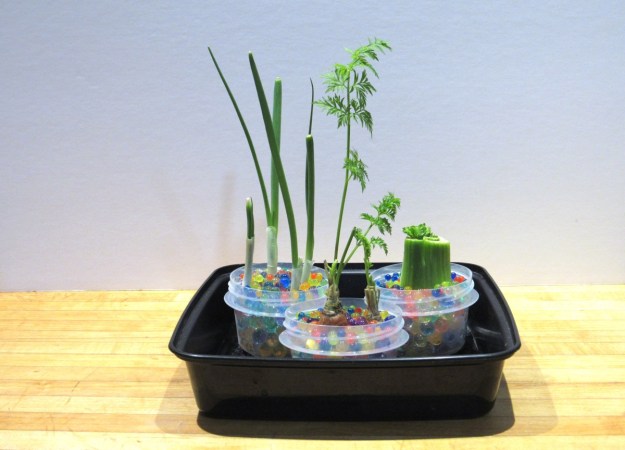
- As the plants grow, pinch or cut off what you need and let the rest keep growing. Your veggie scrap plants may last for several weeks or months. Throw them out (or compost them) when they become mushy or die off.
As you work on this activity, consider these questions.
- How do the plants get the water out of the gel beads? (Hint: Look up osmosis.)
- How would you compare growing plant scraps in gel beads to plain water? Which is easier? Which produces the best plants?
Make a Thermo-Reversible Gel
The type of cellulose you’ll use for this activity is thermo-reversible. You’ll heat the hydrogel to make it swell, then watch the water ooze back out as it cools down to room temperature. Add it to an ice cream base to make a dessert that holds its shape while hot, and starts to melt as it cools down!
The recipe here uses Methocel A4C, a type of methyl cellulose that forms a firm gel at 122-131°F (50-55°C). Other types of methyl cellulose may require different cooking times or different concentrations. Use a scale if you want more control over the amount of hydrogel in your ice cream.
Materials for Activity 3
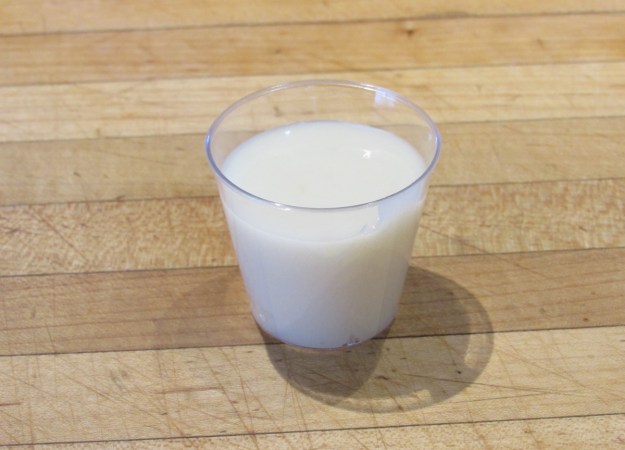
- 3/4 cup milk, half and half, or cream (the higher the fat content, the smoother and richer the ice cream will be)
- 3 tablespoons sugar
- Flavoring such as 1/2 teaspoon of vanilla extract, a few drops of peppermint extract, a shake of cinnamon powder, or a spoon of cocoa powder
- 4-6 teaspoons of Methocel A4C methyl cellulose (available from Modernist Pantry)
- Microwavable tablespoon, soup spoon, or small cup (such as a 3-ounce paper bathroom cup or a plastic shot glass)
- Microwave oven*
- Food scale that can measure in grams (optional)
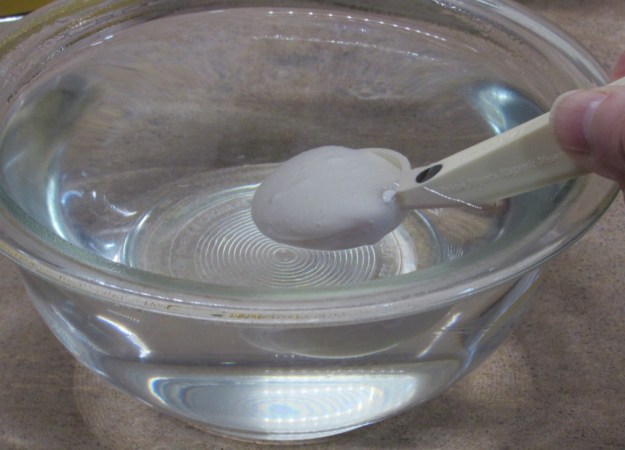
* If no oven is available, you can “poach” a scoop in a bowl of very hot water. Hold the scoop in the water long enough for the outside to solidify before sliding it in.
Safety and Clean-Up Notes:
- Do not eat more than a tablespoon of hot ice cream. The hydrogel is high in fiber, which can be hard to digest.
- Scrape off as much methyl cellulose powder or mixture from your cooking equipment as possible into the garbage. Rinse off the rest in cold water so it doesn’t clog up your drain. Remember, heat makes it get thicker!
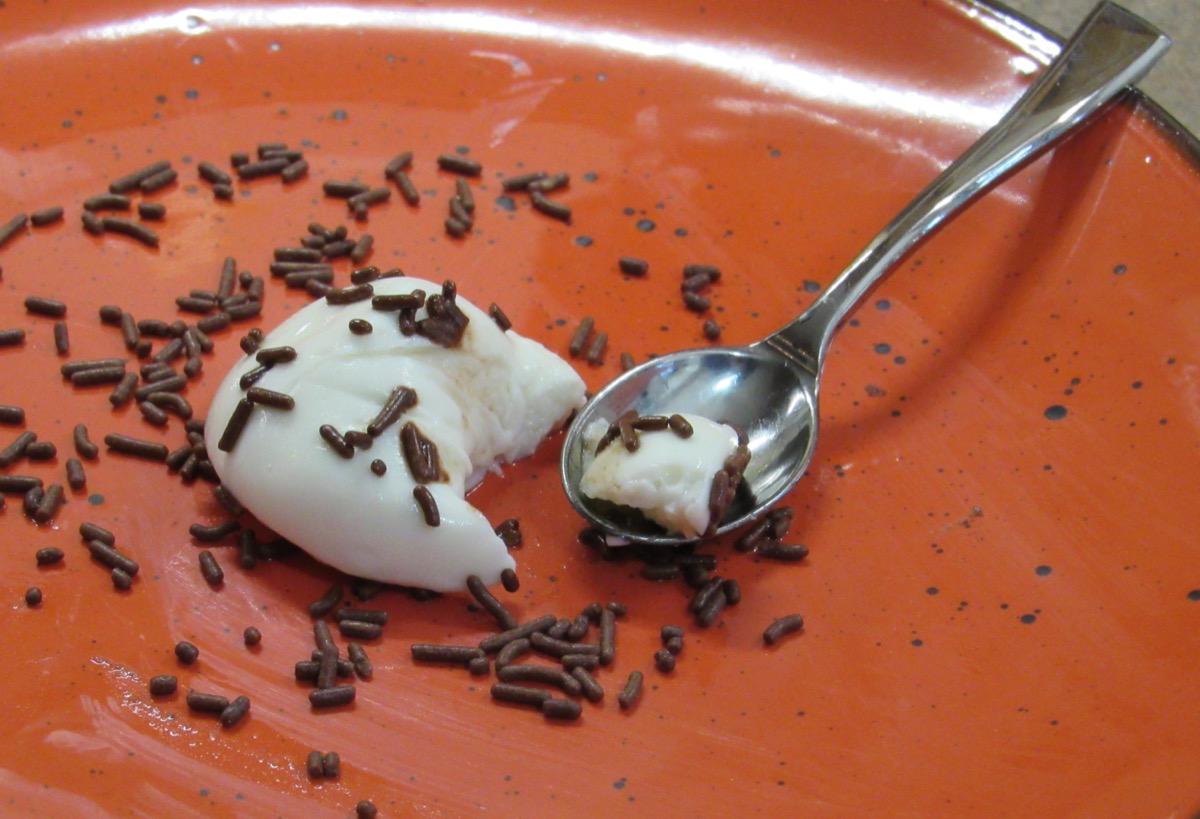
Activity 3: Make "Hot Ice Cream"
This polymer absorbs water and becomes solid when hot. Then it releases captured liquid as it cools to room temperature so that it looks like it is melting.
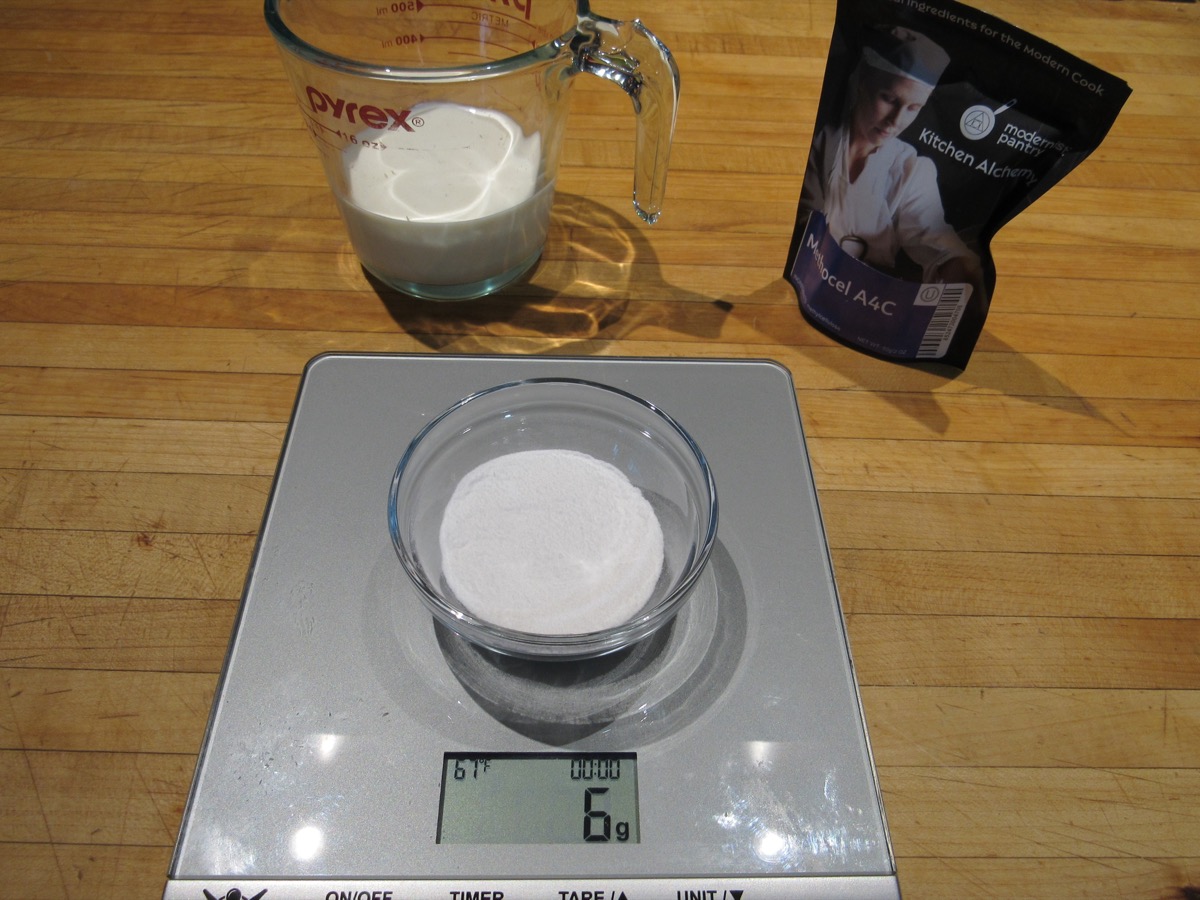
- Mix all the ingredients except the methyl cellulose thoroughly. If you are using a food scale, the mixture should weigh 200 grams (minus the mass of the bowl).
- Sprinkle the methyl cellulose powder, a teaspoon at a time, onto the liquid and stir. It’s very fluffy, so don’t let it blow around! Keep stirring until the mixture is as smooth as possible. If you’re using a scale, stop adding powder when the weight increases by 6 grams.
- Refrigerate the mixture overnight. This lets the methyl cellulose dissolve completely. Stir once or twice while it chills. Try not to leave the mixture longer than a day or two before making the ice cream, as the mixture continues to thicken on its own the longer it sits.
- When you’re ready to cook, stir the mixture again to remove any remaining lumps. Let the mixture sit at room temperature for about an hour.
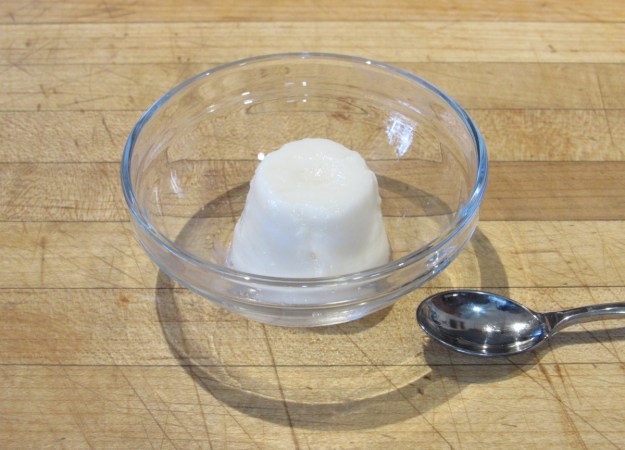
- Scoop out about 1 tablespoon of the mixture into a microwavable spoon or cup. Microwave it on Low (power setting 2 or 3) for 30 seconds. Once cooked, the mixture should be solid like gelatin. If it’s still soft, put it back in for another 10-20 seconds at a time. Repeat until solid.
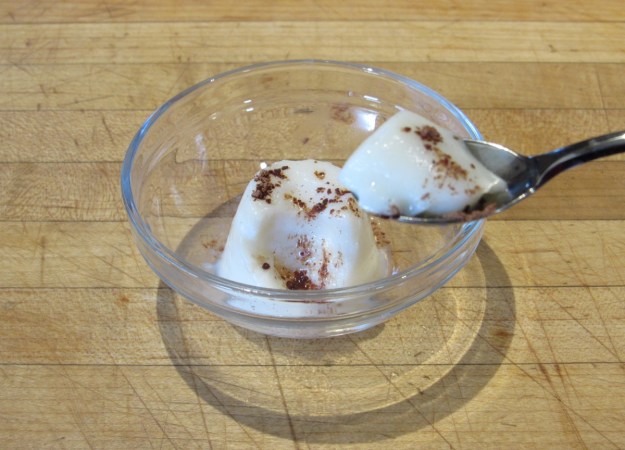
- Transfer the hot ice cream to a bowl to watch it melt. (You may need to pry it out of the cooking spoon or cup with another spoon or a knife.) Add your favorite toppings to enjoy it as dessert!
As you work on this activity, consider these questions.
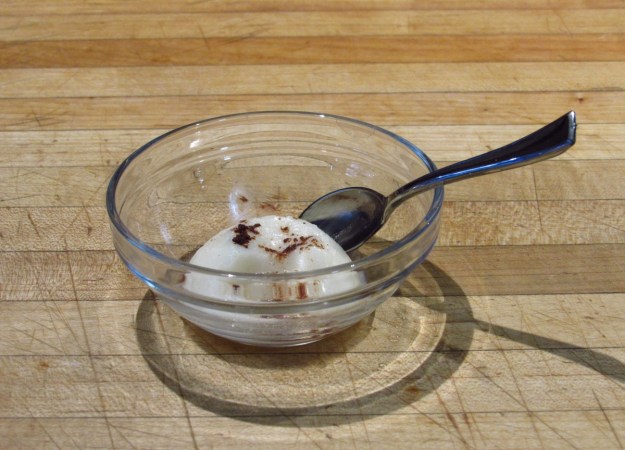
- How long does the hot ice cream take to melt at room temperature? Does it melt faster in the refrigerator? Set aside extra spoonfuls and check them in 10 or 15 minutes to compare how long they hold their solid shape.
- How does hot ice cream taste compared to regular ice cream? What would you add or change to make the dessert even better?
Keep Learning And Sharing
Here are some ways to continue exploring the process of capturing and re-using water:
- Use a Solar Still: Solar stills are a mechanical way of removing the salt from ground water to make it drinkable. Can you adapt the idea to capture and measure the water that evaporates from a container of water gel beads? Check out instructions from the PBS show Zoom.
- Turn the Hot Ice Cream demonstration into a full-fledged science investigation by determining which exactly concentration of methyl cellulose works best. Here are some ideas from Science Buddies.
- Find out about other ways local communities can harvest water from the air, such as:
- Can you use the properties of a desert beetle to make a tent that catches drinking water from the air? Take a look!
- A water tower design that can fill itself with more than 25 gallons of water a day. Learn more!
- Scientists are harvesting water by building fog harps and zapping the air. Start zapping!
Further Resources
- Low-Cost Gel Film Can Pluck Drinking Water From Desert Air
- Scalable super hygroscopic polymer films for sustainable moisture harvesting in arid environments
NGSS Standards
- MS-PS1-3. Gather and make sense of information to describe that synthetic materials come from natural resources and impact society.
- MS-PS1-4. Develop a model that predicts and describes changes in particle motion, temperature, and state of a pure substance when thermal energy is added or removed.
- MS-PS1-6. Undertake a design project to construct, test, and modify a device that either releases or absorbs thermal energy by chemical processes.
- HS-PS1-4. Develop a model to illustrate that the release or absorption of energy from a chemical reaction system depends upon the changes in total bond energy.
Credits:
Written by Kathy Ceceri.
Edits by Sandy Roberts.
Photos by Kathy Ceceri.
Digital Production by Sandy Roberts.
Meet the Writer
About Kathy Ceceri
@KathyCeceriKathy Ceceri is the author of over a dozen books for kids featuring hands-on STEAM activities. She also teaches enrichment workshops at schools, museums, libraries, and afterschool programs, creates educational materials for organizations like the Girl Scouts and Science Friday, and shares her projects and advice to help parents and educators make learning more engaging and fun.