Grade Level
6 - 8
minutes
1-2 Class Periods
subject
Life Science
stem practices
Developing and Using Models, Engaging in Argument from Evidence
Activity Type:
fossils, STEAM Activity
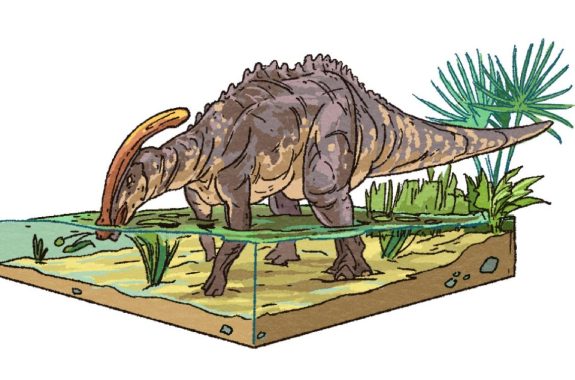
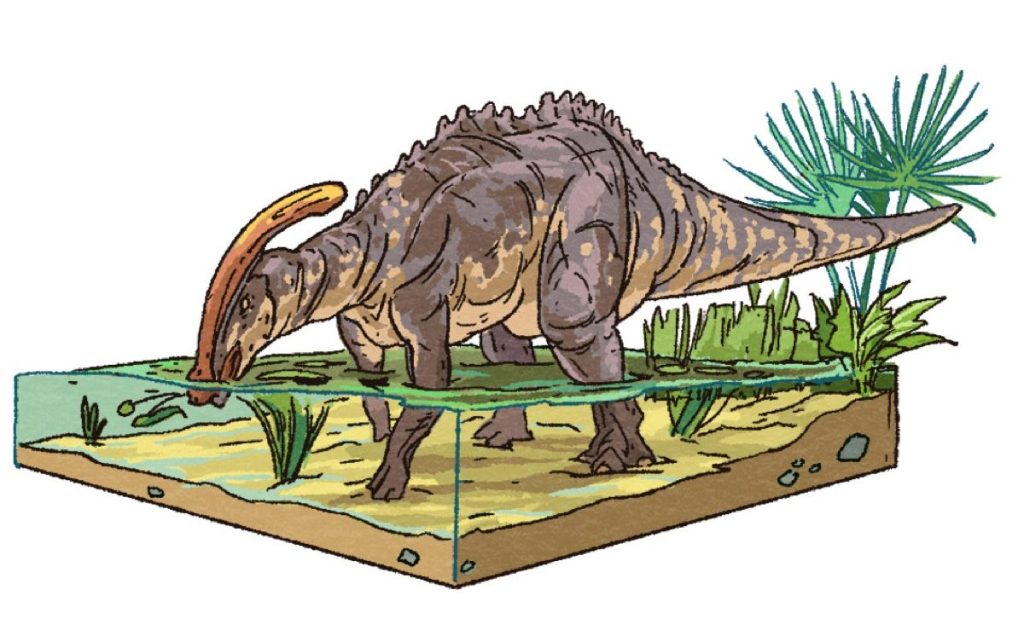
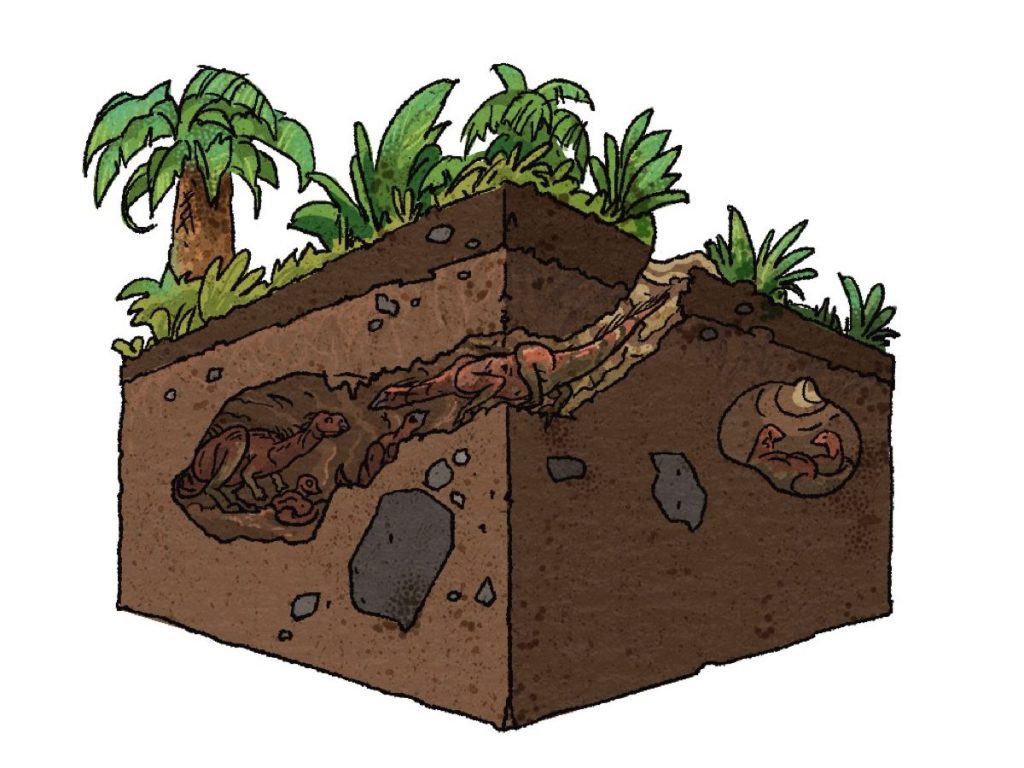
How do we know what dinosaurs really looked like? We see dinosaur skeletons in museums, but have you ever wondered how scientists figure out their shape and build, their skin and feathers, and their behavior?
We know that paleontologists find dinosaur bones and that these bones give us a general idea of the shape of the dinosaur’s body. The question, then, is how do paleontologists fill in the blanks to create the shape of the head, the color of the skin, and the presence of muscles?
Enter the paleoartist. A paleoartist’s job is filling in the features of a dinosaur, including its skin, color, and muscles. Paleoartists work from the bones of a dinosaur and begin to fill in details. To do this, they often have to do research on the dinosaur’s environment and the needs of the dinosaur. For example, if a dinosaur was a predator (paleoartists might know this from the dinosaur’s teeth!), paleoartists would guess that the dinosaur may need to move quickly. This would affect how much muscle the dinosaur has in its legs.
In this video, you’ll see how paleoartists do their work. Paleoartists use fossils, relationships between animals, prehistoric ecology, and their imagination to figure out how dinosaurs and other early reptiles like pterosaurs might have looked.
In this activity, you are going to select a species of dinosaur or other prehistoric species to study. You’ll use information that you uncover about your prehistoric creature to create a model of it. Next, you will feature your model in a short video explaining how they (and their body) might have interacted with, and been adapted to, their environment.
Dinosaur Model Overview And Materials
To begin, you will need to select a dinosaur (or other prehistoric reptile) for your project. Remember that you can also select any prehistoric reptile, even if it is not a dinosaur.
You will work on this project either individually or in groups of three. With your group or on your own, you will select the top three dinosaurs or prehistoric reptiles that interest you. Then, you will do 10–15 minutes of research on these dinosaurs and make your final selection based on this initial research.
Before you start to build your model, you need to learn as much as you can about your selected dinosaur! That’s right—you need to research. You’ll start by finding out about your dinosaur’s life and taking notes in a research notebook or journal that you will use to document your entire design process.
Think about what a dinosaur would need to do in their daily life. What would they eat? How far would they travel? What elements of nature (snow, wind, rain, etc.) would they be adapted to, how would they eat, and reproduce? Once you have a basic idea of your dinosaur’s natural history—the habitat, behavior, physiology, and other organisms it encounters—you can start to brainstorm what features their body might need in order to survive their lifestyle.
Materials
*optional
|
|
Design Your Dinosaur
- Generate a list of research questions about your selected dinosaur that will help you determine key elements of their daily life and physiology, or use the Research Checklist to help you. Use online resources or books to find answers to your questions. Write your findings in your research notebook.
- Find at least one image of the skeleton of your chosen dinosaur. Use your research to determine what the dinosaur’s body may look like. Use your research checklist to ensure you have enough information about the animal’s features and behavior to decide what it might have looked like.
- In your research notebook, generate sketches of the dinosaur’s body, drawing the dinosaur from above, under, side, front, and backend view. This is called a “study” and will help guide you as you craft your dinosaur in three dimensions. Include in your illustrations notes as to why you have decided to include certain features. (For example, does the dinosaur have a flat head, ridges on its spine, long arms, etc.?) For every feature, write a brief description of why it is supported by fossil evidence and how it helps the organism survive. When sketching, be sure to include front, side, and back views so you can build a 3D model.
Build Your Dinosaur
Using your illustrations and notes as a guide, form the beginnings of your dinosaur skeleton using wire segments to create an overall frame and shape of the dinosaur.
Safety Note: Wrap the ends of your cut wire with masking tape if desired. This will protect you from being scratched by the exposed wire ends. Safety goggles may be useful as well.
- Twist together two equal length wires, and form a shaped head area. Next, run the remaining lengths side by side from the shaped head area to the back legs. Shape the wire to mimic the frame of the dinosaur’s skeleton.
- Next, run two equal length wires side by side from the tail area to the front legs. Twist additional wires around the torso, building out the fullness of the vital organs region of the animal. After you have formed the body with wire, stuff the core with newspaper.
- Fill in the dinosaur’s body with tape and paper or papier-mâché (for tips, check out this quick how-to guide for making papier-mâché). For an adjustable sculpture, wrap the dinosaur’s body in masking tape to hold the paper in place, but leave the joints of the limbs and the neck free of tape and instead wrap it in yarn, allowing the joints to move.
- When the body is fully formed, you can finalize the outside appearance of your dinosaur. A great deal of information is available in the fossil record that helps scientists to figure out the colors, textures, and ornamentation of dinosaurs. Use your research to help you decide how you’ll decorate your dinosaur model with paint, Flex Seal®, or Modge Podge®.
Dinosaur Model Reflection Questions
- How did your research affect your ideas for designing your dinosaur?
- How realistic do you think your dinosaur is? Why?
- What would you change about your interpretation of your dinosaur? Why?
- What elements of the dinosaur were you unsure of? What might you need to research to change those features?
How Scientists Model Dinosaur Movement
Scientists use clues left by dinosaurs and other extinct species of reptiles and early birds, including trace fossils such as footprints and the skeletons of other animals to learn how extinct species may have moved. For example, Paleontologist Jingmai O’Connor spent 10 years trying to uncover clues about the diversity of ancient birds by examining their bones and preserved soft tissues, like lungs and ovaries, as well as information about the environment and ecology of where they lived.
In this video, you’ll learn about how O’Connor uses information about the environment of ancient birds (which are also technically dinosaurs!) to determine how they might have moved, looked for prey, and reproduced.
As you review what you’ve learned about your dinosaur, think about how it would have been possible for your creature to move. Think about the daily movements they would have needed to make and their overall size. Then, you can start to imagine what they might have looked like.
Create A Video Of Your Dinosaur Model Moving
Now that you have a visual representation of your dinosaur, you will start to think about how it might have moved. You should go back to your research and review what you learned about your dinosaur.
What did the dinosaur need to do every day? Did it hunt? Did it graze on plants? Would its daily activities require it to run or swim? Think about what your answers mean to the dinosaur’s body. Then, go back to your research and review what you learned about the dinosaur’s world. Was it tropical? A forest? A desert? What were the best conditions for your dinosaur to survive?
In this activity, you’ll be able to design your dinosaur’s world and start to create a representation of how it might interact with that world. You will either use stop-motion animation with the model you have constructed or create a computer-drawn image to animate.
Materials:
- Computer/laptop
- Samsung tablet, iPad, or other similar device with camera
- Apps: Autodesk Sketchbook, Stop Motion Studio, FlipaClip, ibisPaint, CapCut, iMovie, or FilmoraGo
- Google or Microsoft word processor programs and/or slide presentation programs
- Green plants (artificial if possible)
- Green cloth or green paper (for green screen backdrops in stationary scenes of dinosaurs, stop-motion animation, or videoed scenes of items such as smoking papier-mâché mountains)
Stage One: Storyboard
In this stage, you will write out or draw out what you want your video to look like. The more detail you create here, the easier it will be to create your final video.
- Create an outline of the facts and information that you want to include in your video/animation. This should include information about the type of environment your dinosaur lived in, and the other plants and other animals that lived nearby.
- Sketch the background(s) that you will need for each portion of the video.
- Create a slide or description of each scene in your video. For example, if your dinosaur moves or performs an action, create a separate description detailing what will happen in that portion of the video.
Step Two: Create
Next, you will need to create the backdrop and any props for your video. If you are creating a stop-motion animation, you will need to create these out of paper and other materials you have available. If you are creating a video animation, you will need to create these items with graphic design or illustration software of your choice.
- Using your research and sketches, create a backdrop (or backdrops) needed for your dinosaur to interact.
- Next, develop any props you will need. This might include plants, water features, or other animals. (Hint: You won’t need to create detailed models of other animals if you choose to include them!)
- Put your dinosaur into the frame! (If you are digitizing your dinosaur, you may choose to re-create it or insert a photo version.)
- Film the dinosaur interacting with the environment. Move the dinosaur in increments to show motion. You may need to do this in parts. Don’t worry—you will edit in the last step!
Step Three: Edit and Present
Your final step is to edit your video to create a story. You will need to use editing software to put together the video clips you have created. If you have created a single recording, you may want to cut out segments or rearrange the order of the video. You can also add voice recording (yours!) or music.
- Finalize the clips for your video. Edit the longer video or the short clips to ensure that you only have the items you need.
- Splice together all the video clips you want to include. If you’d like to add transitions (fading in or out), you can do that now!
- Record any audio voiceover or find royalty-free music to include in your video. Add that to the audio track.
- Finally, export your video and share it with your class!
Rubric
Your project will be graded based on how well your dinosaur was constructed, the color and physical features of the dinosaur, the symmetry and balance of the dinosaur model, and the notes in your research notebook. You may use the Dinosaur Model Rubric as a guide.
Next Generation Science Standards And Common Core
This resource works toward the following performance expectations:
- MS-LS4-1: Analyze and interpret data for patterns in the fossil record that document the existence, diversity, extinction, and change of life forms throughout the history of life on Earth under the assumption that natural laws operate today as in the past.
This resource builds on the following science and engineering practices
- Developing and Using Models
Modeling in 6–8 builds on K–5 experiences and progresses to developing, using, and revising models to describe, test, and predict more abstract phenomena and design systems. - Engaging in Argument from Evidence
Engaging in argument from evidence in 6–8 builds on K–5 experiences and progresses to constructing a convincing argument that supports or refutes claims for either explanations or solutions about the natural and designed world(s).
Credits
Lesson and rubrics by Tammy Luke
Additional copywriting by Jana Sosnowski
Copyediting by Erica Williams, Ariel Zych
In line illustrations by Jay Rasgorshek
Educator's Toolbox
Meet the Writer
About Tammy Luke
Tammy Luke has taught for over twenty years at Richmond HIll Middle School in Richmond Hill, Georgia, nineteen of which have been in the art room. Certified in Middle School Education with a focus on Math and English Language Arts, she teaches all subjects through art, because she believes art is a reflection of all of our influences and knowledge. As an artist she works in paint, murals, photography, graphic design, and sewing and enjoys singing and playing the piano.