Grade Level
6 - 8
minutes
Multi-day
subject
Life Science
stem practices
Planning and Carrying Out Investigations
Activity Type:
kitchen chemistry, Family activity, food science
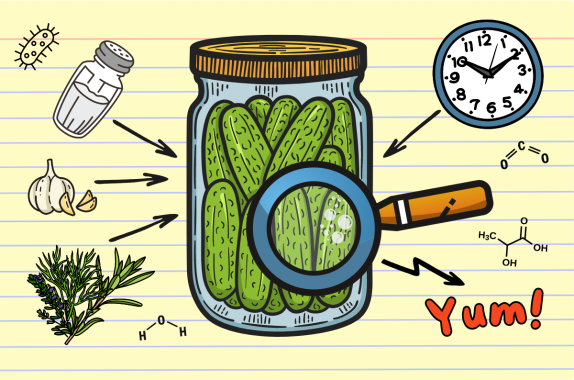
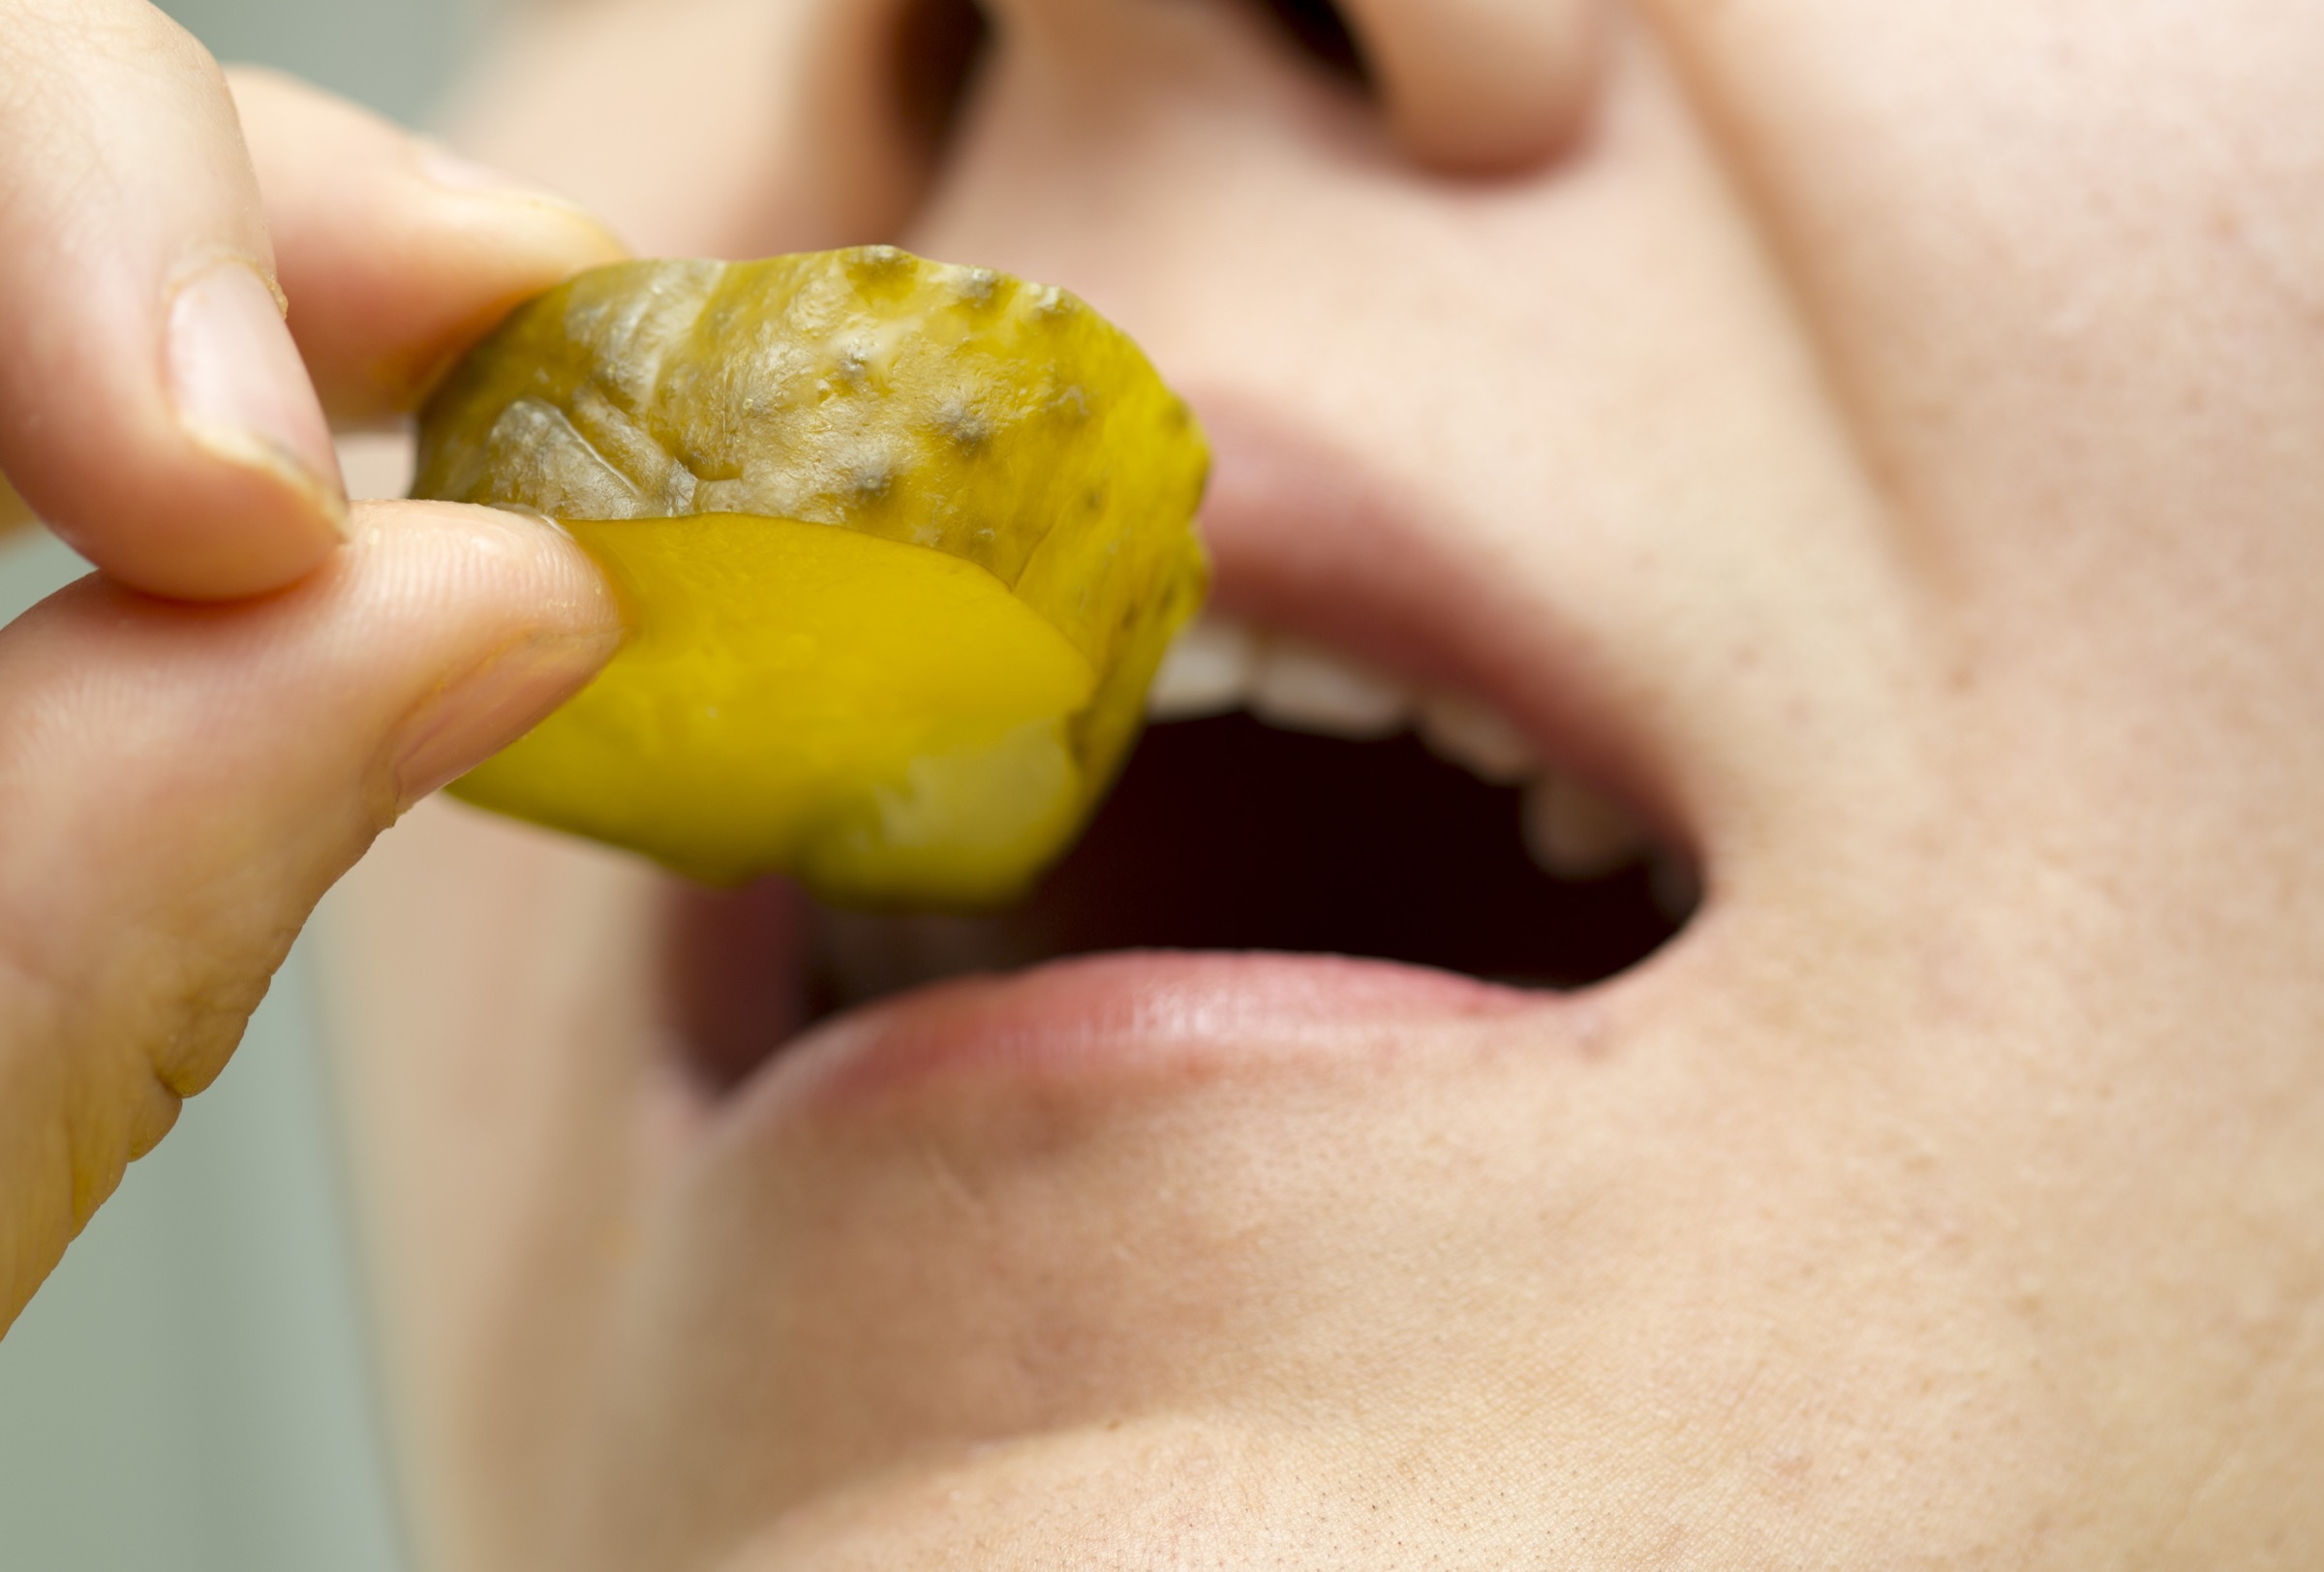
Have you ever eaten a sour pickle at a deli? If you have, you likely recall the lip-puckering combination of salt, sweet, sour, and acid. Mouthwatering to some people and unpalatable to others, the polarizing flavor of a pickle is pretty unique. And considering pickles are made from humble cucumbers, you might be asking yourself, how do you get from cool cuke to tangy tongue-tickling powerhouse pickle? Where does all of that flavor come from?
In this activity, you’ll discover the answers to these questions and more as you use microbes to transform foods and impart unique flavors.
How Can You Cook Without Heat?
Most pickles sold on grocery store shelves in America are fresh-pack or quick-process pickles. They were made through a process that preserves vegetables using a hot mixture of water, salt, and vinegar—sometimes called brine. But if you’ve ever had the opportunity to try a sour pickle from the barrel or at an old-fashioned deli, it’s a very different flavor experience. Believe it or not, those kinds of pickles are made without any heat.
Long ago, pickles were only created through a process called fermentation. In fermentation, the food is “cooked,” but it never sees a flame. Instead, the food is transformed by trillions of tiny microbes. Over thousands of years, humans have figured out countless ways to manipulate every aspect of the fermentation reaction to unlock hidden flavors, textures, and scents. Today, these fermented foods are the pride of many of the world’s best restaurants.
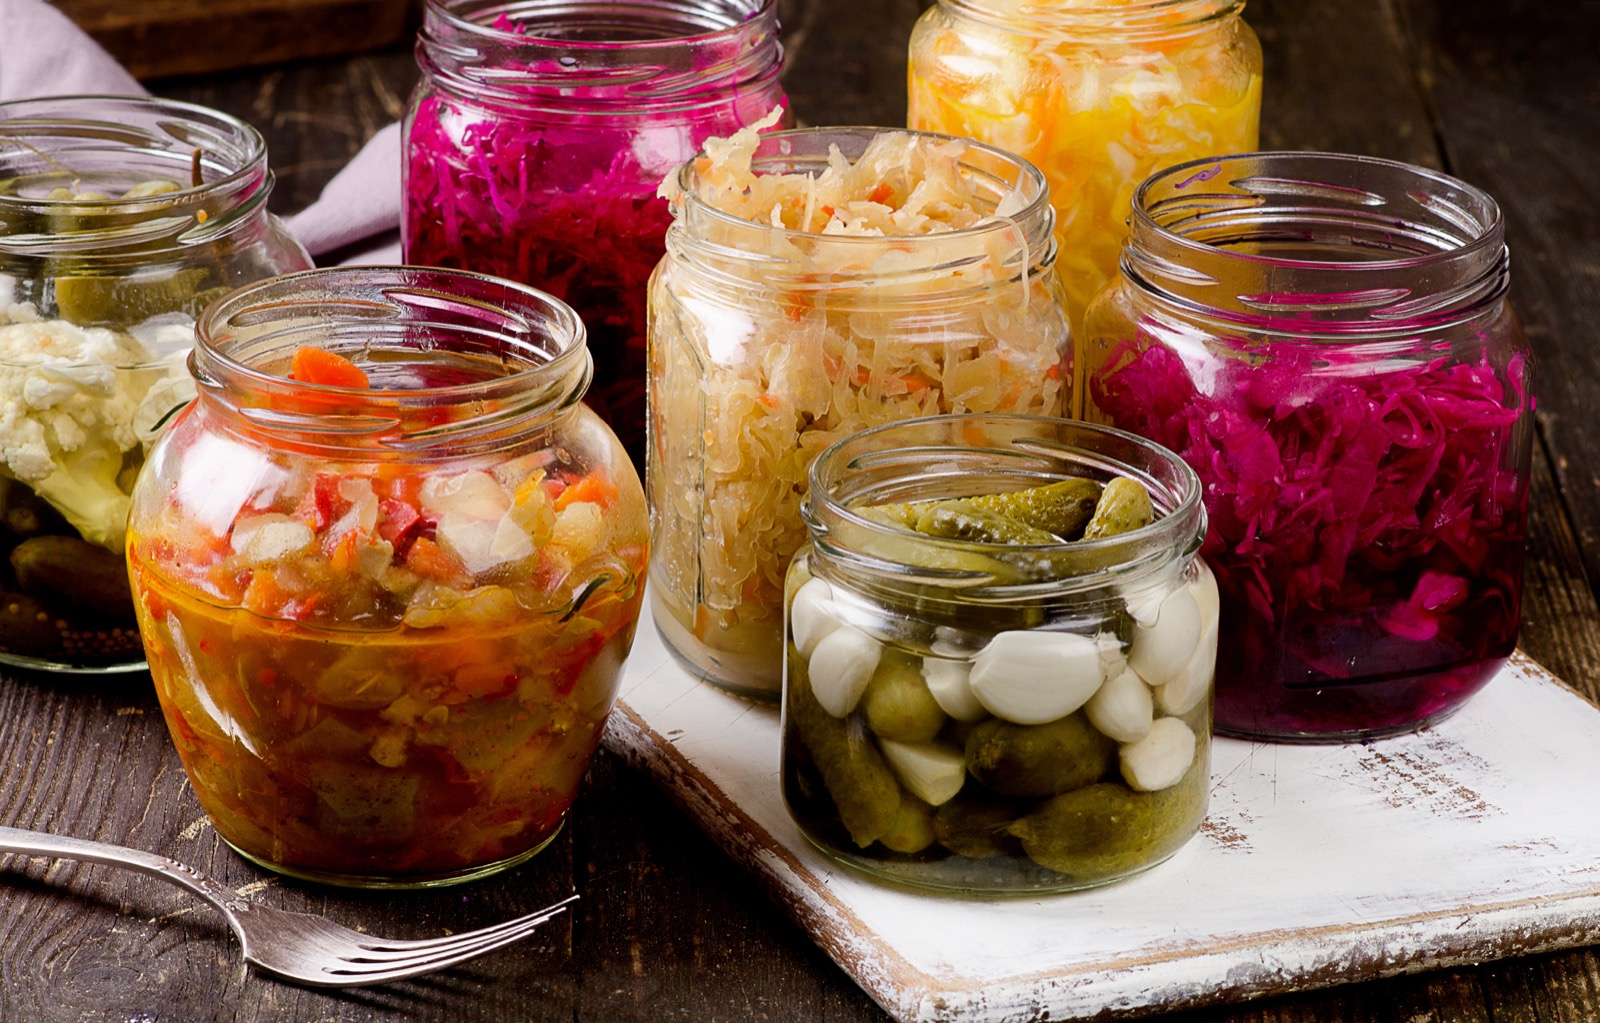
Get ready to meet those microbial chefs, learn about the ways they transform food, and discover why it all works. You will learn about fermentation and how human chefs and molecular gastronomists use this process to produce a wide variety of foods with bold, unique flavors—from stinky cheeses to kimchi and sauerkraut to sourdough bread. In addition, you will put on your chef’s hat (or your lab coat) and try your hand at fermenting some vegetables with helpful guidance from a world-renowned chef!
What Does It Look Like To Cook Without Heat?
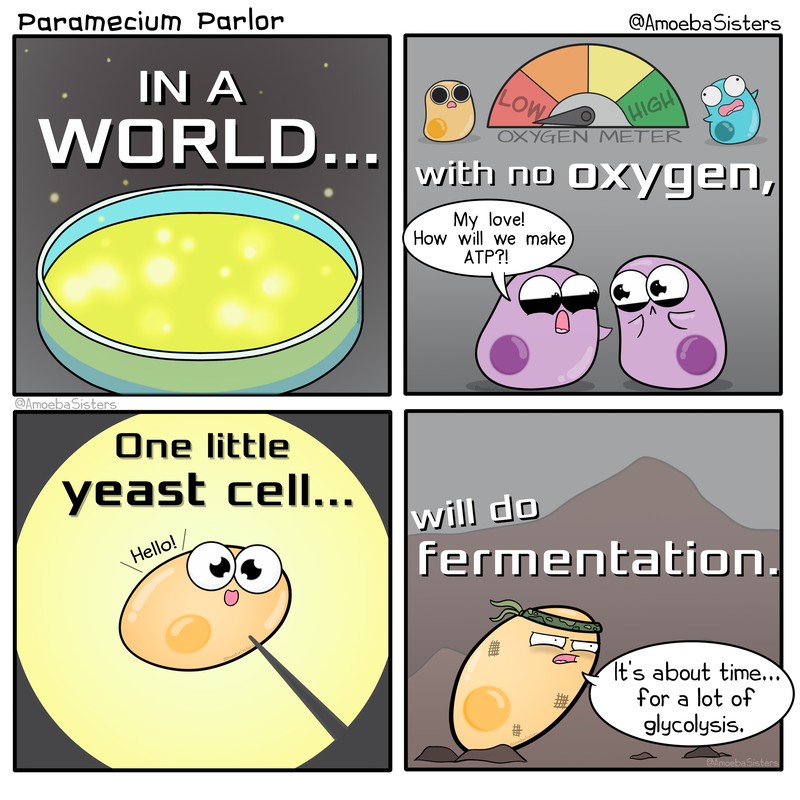
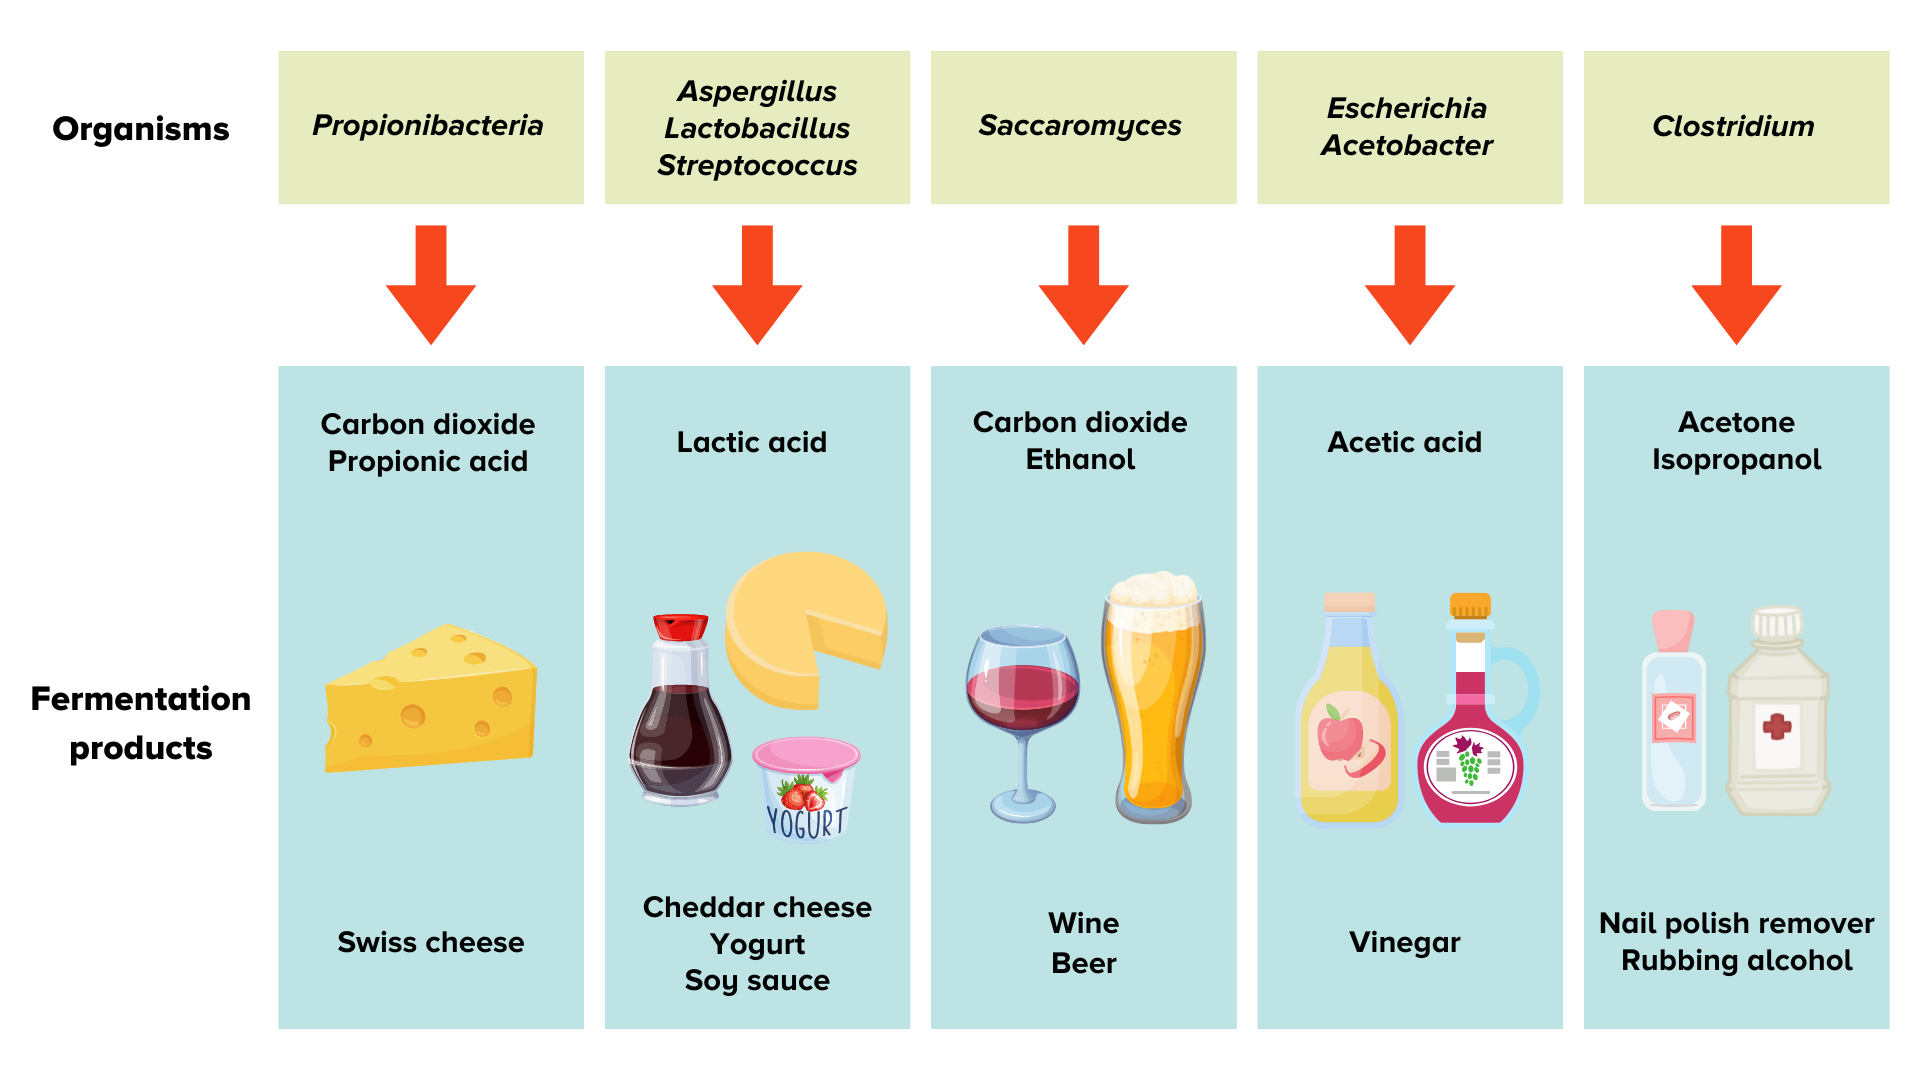
Before we get to work in our lab, let’s take a tour of the microbial kitchen. Just like every other organism on Earth, microbes (even single-celled bacteria) use cellular respiration, also called aerobic respiration, to produce chemical energy called ATP. Cells get that energy by breaking down glucose (a simple sugar) through a cycle of biochemical reactions. For that energy-producing cycle to work, they need oxygen. Cells need a constant stream of energy to survive. Even a few minutes without it can be fatal. In fact, the deadliness of many poisons is linked to their ability to disrupt the process of cellular respiration.
When oxygen is plentiful, a microbe makes energy with that key ingredient using aerobic respiration. But when there is no oxygen left in the pantry (or the environment), cells can still make energy. One way they do this is with fermentation, which is a kind of anaerobic respiration. Though not nearly as efficient as aerobic respiration, fermentation enables a cell to survive until oxygen is plentiful again. It also produces byproducts such as lactic acid and carbon dioxide.
We will take a deeper dive into the mechanics of fermentation later, but for now, let’s check out some microbes at work. You’re going to watch two time-lapse videos of two different fermentation reactions. As you watch the videos, look for changes in each jar:
- Are there any differences between what is happening in each jar?
- Are there any similarities?
- What questions come to mind as you watch?
Fermenting Like A Pro
Microbes, oxygen, acid, alcohol, vegetables! If you are starting to think that fermentation is a complicated process, you are not wrong: there are a multitude of variables at work in any fermentation reaction. Understanding how those variables affect the final dish is essential to mastering fermentation.
At the same time, actually fermenting food is not only surprisingly easy to do, but also easy to customize to your tastes. The list of materials and ingredients you need to start fermenting is pretty short, too.
Thankfully, as we ferment our vegetables, we will have help from the most famous fermenter out there: David Zilber, the director of the Fermenting Lab at the world-renowned Noma restaurant in Copenhagen, Denmark.
Let’s listen to an interview between David Zilber and Science Friday host, Ira Flatow. Follow along with this annotated listening guide, designed to help you focus on key pieces of information as you listen.
World-Class Tips For The Home Fermenter
Materials
- A sterile mason or jam jar with lid (quart)
- Mixing bowl
- Cutting board
- Knife
- Firm vegetables such as carrots, cucumbers, cabbage, green beans or beets
- Kosher or sea salt
- Dried spices such as thyme, sage, rosemary, dill, or caraway seeds
- Garlic and/or onions
- Microwave, dishwasher, or a pot of boiling water to sterilize jars
Fermented Vegetable Recipe Example
Below is a basic procedure for making fermented vegetables. You will adapt it (taking food safety into account) to invent your own tasty fermented vegetables in the next section.
- Wash your hands.
- Remove any visible dirt or sand from your vegetables.
- Sterilize your jar in one of two ways:
– Boil the jar and lid in water for a couple of minutes.
– Wash the glass jar, and while it’s still wet, microwave it for 60 seconds. Wash the jar’s lid with hot water and soap for 60 seconds.
– If your dishwasher has a sterilization feature, you can wash your jars and lids that way. - Chop your vegetables and put them in a bowl.
- Measure one-half to one tablespoon of salt and add it to the bowl.
- Massage salt into vegetables for two to three minutes until salt granules are dissolved.
- Let the massaged vegetables sit for ten minutes while the liquid collects.
- During that time, prepare one to two teaspoons of any spices, a few cloves of garlic, or slices of onion in any combination that you wish to add.
- Wash your hands again.
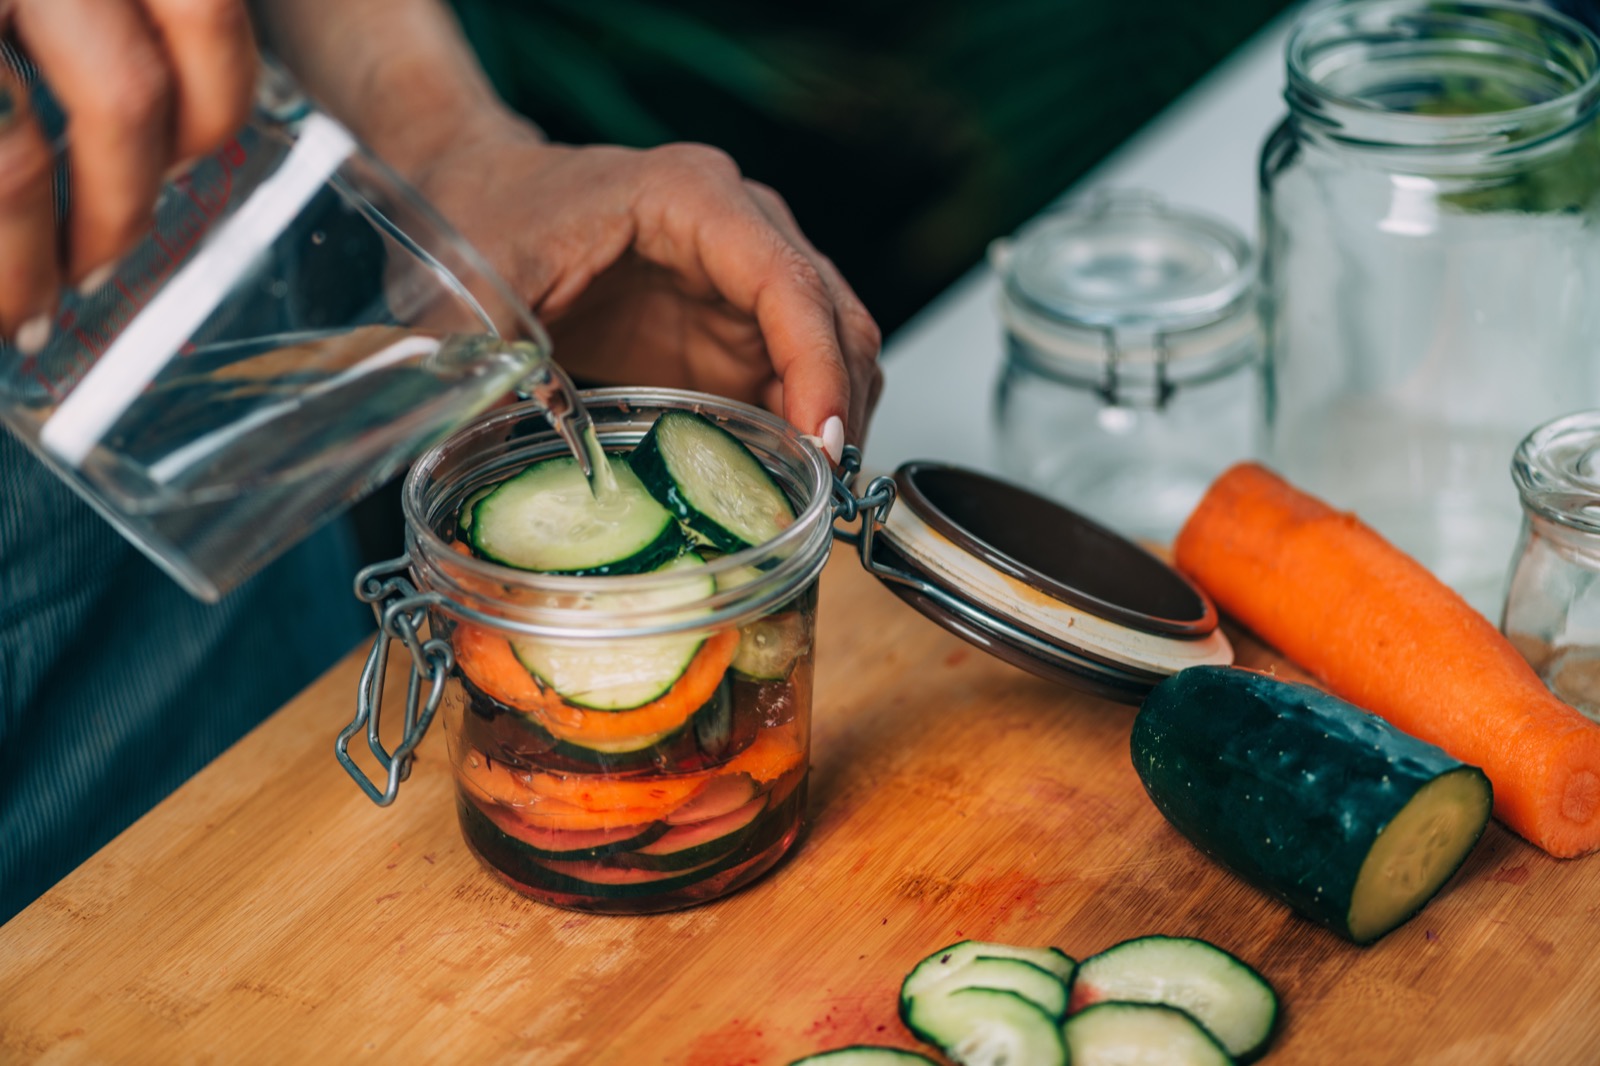
- Place vegetables and their liquids into the sterilized jar.
- Add sterile or filtered water so that the liquid covers the vegetables. You may use a clean plastic sandwich bag with water in it to weigh down floating vegetables.
- Cover the jar loosely using one of the following:
– Mason Jar lid
– Plastic wrapped affixed with a rubber band - Let the jar sit covered and away from the light in a dry place at room temperature for three to seven days (or longer if desired).
- Once the fermentation process is complete and the desired taste is achieved, refrigerate your vegetables to slow the fermentation process and preserve your food.
NOTE: All fermented products present potential health risks. Individuals are responsible for assessing the safety of consuming fermented foods. If you do this experiment and eat or serve the goodies you’ve made, you are consenting to Science Friday’s Projects Policy.
Activity: Invent Your Own Fermented Vegetables
Design Your Experiment
Refer back to the information you just collected from David Zilber’s interview; then review the Fermented vegetable recipe example above.
Now, think about these key questions:
- What materials do you need to set up a fermentation experiment?
- What will your procedure be?
- How will you know your fermentation is working properly? What signs might you observe to tell you if things are going well or not?
To help you organize your plans, read and answer the questions on the first four slides in this Fermentation Digital Lab Notebook, where you will be able to record your materials, procedure, and your fermentation’s progress.
Be The Bouncer In The Club
At one point in his interview, David Zilber compares the role of a fermenter to that of a bouncer at a nightclub. In a club, the bouncer is an employee of the club whose job is to prevent unsavory characters from coming in; as a fermenter, you have to prevent unsavory flavors from being introduced.
“There are so many variables that go into making a successful ferment. How clean was your vessel before you put the food in there? How clean were your hands or your utensils? How much salt did you use? How old was the cabbage you were even trying to ferment in the first place? Every little detail is basically another variable in the equation that leads to fermented products being amazing or terrible…” – David Zilber
Think about your procedure. What steps will you take to be an effective bouncer and prevent harmful microbes from spoiling your fermentation?
Zilber also discusses the number of variables that need to be controlled in order to do a successful fermentation and poses a number of questions for the home fermenter.
Think about your procedure. What are some of the variables in your experiment? Which are you able to control for, and which are out of your control? Look at the steps in the example recipe above and try to see which steps control for a recipe variable.
Let’s Transform One Ingredient Into Another!
Now that you have written out your materials and procedure, it is time to set up your fermentation. Follow the steps you described on slide three in the Fermentation Digital Lab Notebook, then make an initial observation of your jar on slide four.
Once your jar is sealed, it’s best to leave it untouched to limit the introduction of new microbes that might spoil your fermentation. At the same time, the water in your jar must always cover the vegetables, and you will need to track the progress of your fermentation, so you will need to open the jar occasionally to add more filtered water and to collect data.
How will you know if your vegetables are fermenting? Here are ways you can chart the progress of Lactobacillus’ culinary magic.
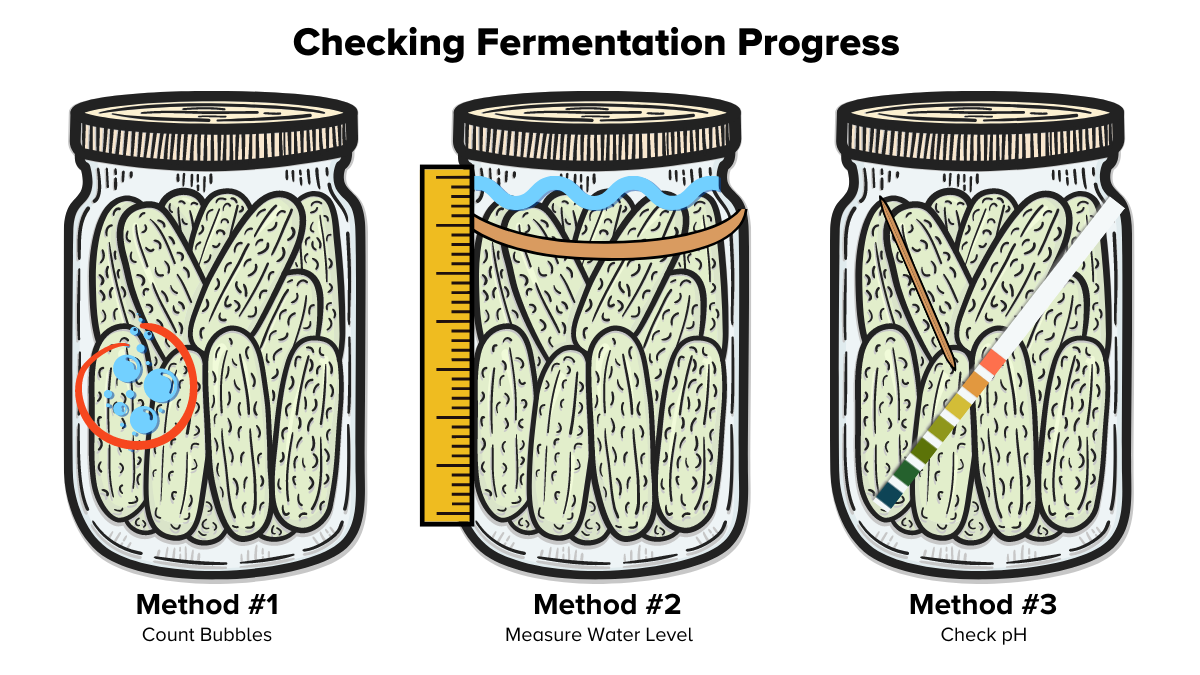
Method #1
Since fermentation naturally produces gasses, you can assume that bubbles mean microbial activity. It’s going to be impossible to count every bubble, but you can use a marker to count gas production in a small area. Draw a circle 2 inches in diameter on the jar where you see bubbles collecting. Check in every day or two to count the bubbles in the circle. Record your data on slide five of the Fermentation Digital Lab Notebook.
Method #2
As we saw in the videos of fermentations, the water levels within the jar may change. This is due to both the dehydrating powers of salt and the production of water as a byproduct in one of the chemical reactions occurring in the jar. You can measure the water levels by putting a thin rubber band at the water level. Check every day or two to see how the water has gone down or moved up by using a ruler to measure the changes. You can also record your data on slide six of the Fermentation Digital Lab Notebook.
Method #3
There are several key chemical reactions that occur within the jar. One of them produces lactic acid, which can alter the pH of the salt water. While the fermentation proceeds, the pH will decrease as the microbes perform anaerobic respiration and produce lactic acid. To record the pH, dip a sterile toothpick or clean utensil into the fermentation vessel and transfer one or two drops of the liquid to a pH strip. Follow the color guide provided by the manufacturer to identify the acidity of the salt water. You can also record your data on slide seven of the Fermentation Digital Lab Notebook.
Is Your Fermentation Ready Yet?
The best way to tell whether or not your fermentation is ready to eat is to use your taste buds– whether or not something tastes good is completely up to you!
Wait at least one week before you sample your vegetables.
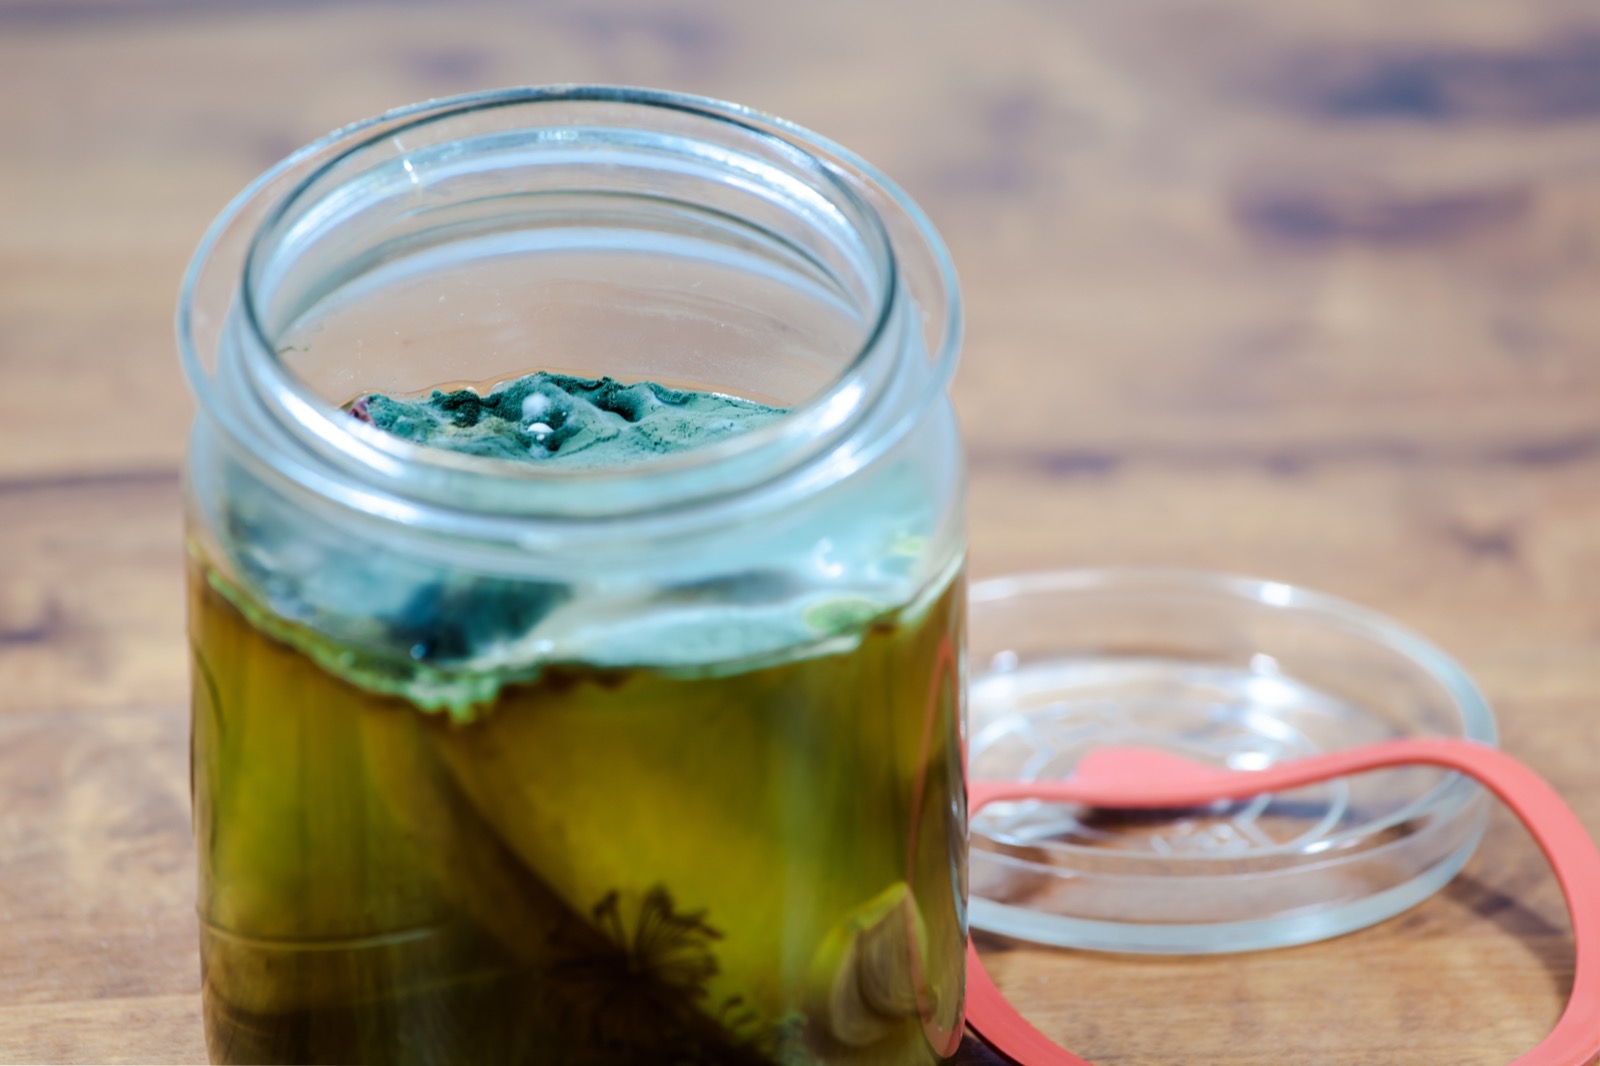
WARNING: Do not take a bite if you see fuzz or colors that didn’t come from the food. This likely means that your fermentation is spoiled. You should dump it and start again with a clean jar and some fresh vegetables. When you’re ready for a taste test, check inside for fuzz, and if it’s all clear, wash your hands well and open the jar. Use a sterile or very clean object to take out a sample.
If it’s not sour enough, wait another week before testing it again. Continue testing once a week until your fermentation reaches the perfect pucker. As long as it stays mold-free, your fermentation can continue fermenting for upwards of one year!
You can record how the flavor changes in the Taste Journal on slide nine of the Fermentation Digital Lab Notebook.
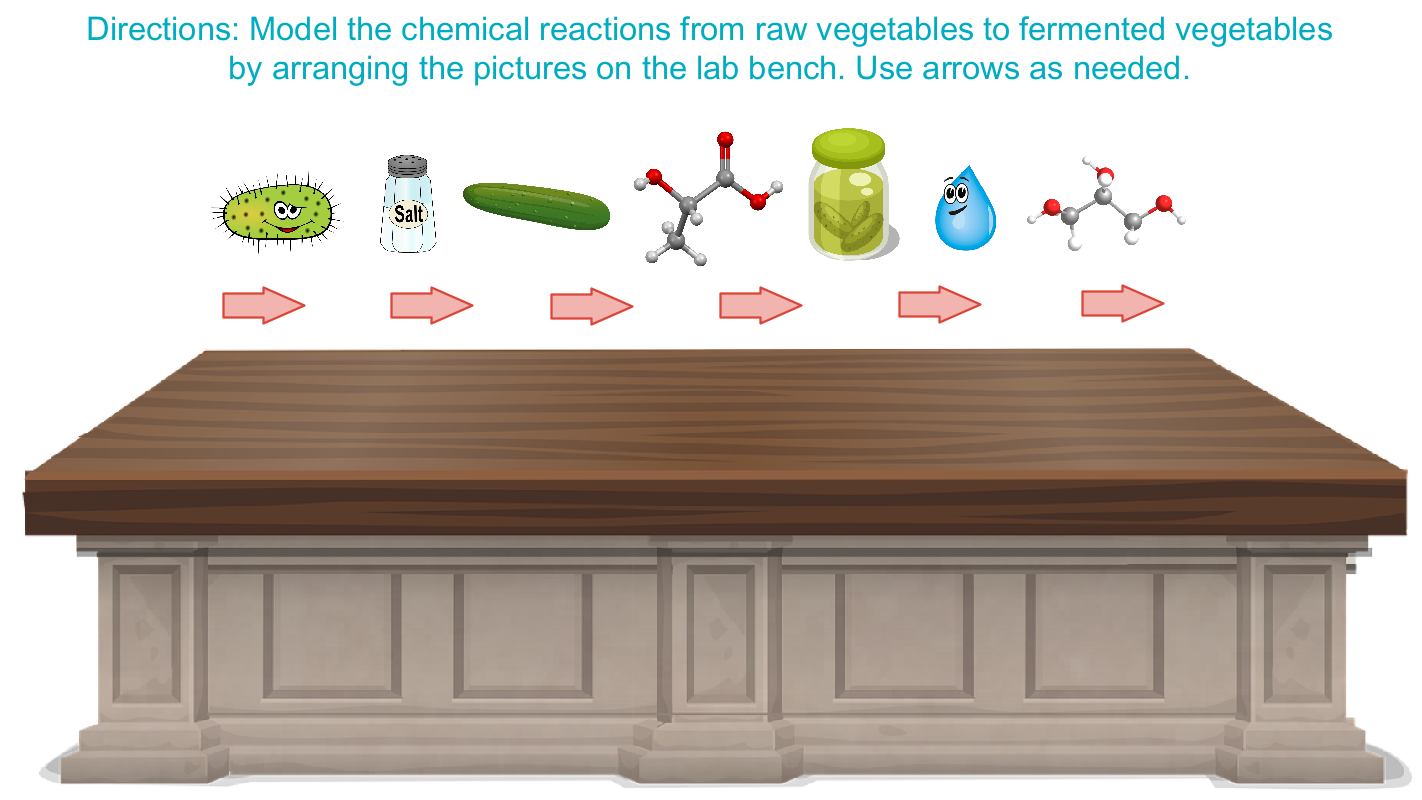
Why Does Fermentation Happen?
As David Zilber said in his interview, fermentation is the “transformation of one ingredient into another by way of a microbe.” He referred to a number of components that guide this transformation: salt, microbes, water, lactic acid, ethanol, vegetables, and the final fermented product. Based on what you learned listening to the segment, use the interactive image below to make a model of your fermentation reaction using these components. Use arrows to indicate the transformation of reactants into products.
Fermentation Begins With Bacteria
Now that we have made our own fermentation in the lab, let’s revisit that microbial kitchen. Arriving along with the vegetables in our jar are trillions of microbes, and chief among them are Lactobacillus bacteria. As we learned at the start of this resource, cells of all kinds, including our Lactobacillus bacteria, normally produce energy in a process called aerobic respiration. Since continuous energy production is essential, there is an emergency back-up process that microbes use to make energy when oxygen levels drop: anaerobic respiration. Anaerobic respiration isn’t as efficient as aerobic respiration; it produces much less energy and some by-products that are not great for our beneficial bacteria. But as we discovered with our experiment, anaerobic respiration is awesome for our taste buds.
Our jars underwent lactic acid fermentation, a type of anaerobic respiration. This type of energy production takes place entirely in the cell’s cytoplasm, bypassing the mitochondria, the principal location for aerobic respiration, or as it is commonly referred “The Powerhouse of the Cell.”
The Biochemistry of Fermentation
Both forms of respiration have the same first stage: glycolysis. In this stage, a glucose molecule is chemically split into a molecule called pyruvate, which is broken down to a chemical called acetylaldehyde and carbon dioxide gas.
Glycolysis produces two forms of energy that power the cell. One is ATP, the common form of chemical energy that fuels the everyday processes of a cell. The other one is NADH, which is crucial to fermentation. NADH only powers one reaction: the conversion of acetyl aldehyde to lactic acid.
Lactic acid creates the sour flavor that gets absorbed by the vegetables along with the salt. This perfect mix of chemicals unlocks and transforms flavors in a way that only biochemistry can.
And the longer you leave the jar, the longer Lactobacillus has to use lactic acid fermentation to survive, producing these taste-making chemicals all on their own. It is this unique combination of tastes and flavors that activates the taste sensations of sour, sweet, and rich savoriness.
Now that you’ve gained an understanding of what’s happening inside your fermentation, see if you can answer these questions.
- What chemical is forming the bubbles in your fermentation?
- What chemical reaction is producing the bubbles?
- How does the amount of anaerobic or aerobic respiration affect the taste of fermented food?
What Else Can I Ferment?
Now that you have fermented a vegetable, there are limitless possibilities for what you can do next. You can use the same vegetable and alter the salt or spices, use different vegetables or mixes, or even try to ferment fruit! Below are ideas to get you started, along with other resources, to help you become a fermentation master. After all, you are the bouncer, and there are always interesting and wonderful characters in line waiting to get in and make your fermentation pop!
Here are some additional resources you can check out!
- The Noma Guide to Fermentation
- USDA Complete Guide to Home Canning
- The Spruce Eats Fermented Vegetable Recipes
Next Generation Science Standards
This resource works toward the following performance expectations:
- MS-LS2-3: Ecosystems: Interactions, Energy, and Dynamics – Develop a model to describe the cycling of matter and flow of energy among living and nonliving parts of an ecosystem.
- HS-LS2-3: Ecosystems: Interactions, Energy, and Dynamics – Construct and revise an explanation based on evidence for the cycling of matter and flow of energy in aerobic and anaerobic conditions.
Common Core State Standards
This resource works toward the following performance expectations:
- CCSS.ELA-LITERACY.RI.6.1: Reading Informational Text – Cite textual evidence to support analysis of what the text says explicitly as well as inferences drawn from the text.
- CCSS.ELA-LITERACY.RI.6.7: Reading Informational Text – Integrate information presented in different media or formats (e.g., visually, quantitatively) as well as in words to develop a coherent understanding of a topic or issue.
Credits
Lesson by Michael Hirsch
Draft Development by Abigail Holstein, Xochitl Garcia, and Sandy Roberts
Copyediting by Abigail Holstein and Ariel Zych
Digital Production by Sandy Roberts
Educator's Toolbox
Meet the Writer

About Michael Hirsch
@MichaelLikesBioMichael L. Hirsch is a biologist and science teacher who specializes in curriculum design and crafting hands-on science experiences for students. When not championing progressive education, he can be found playing music and baking bread. He is a member of the sixth cohort of Science Friday Educator Collaborators.